Configuration
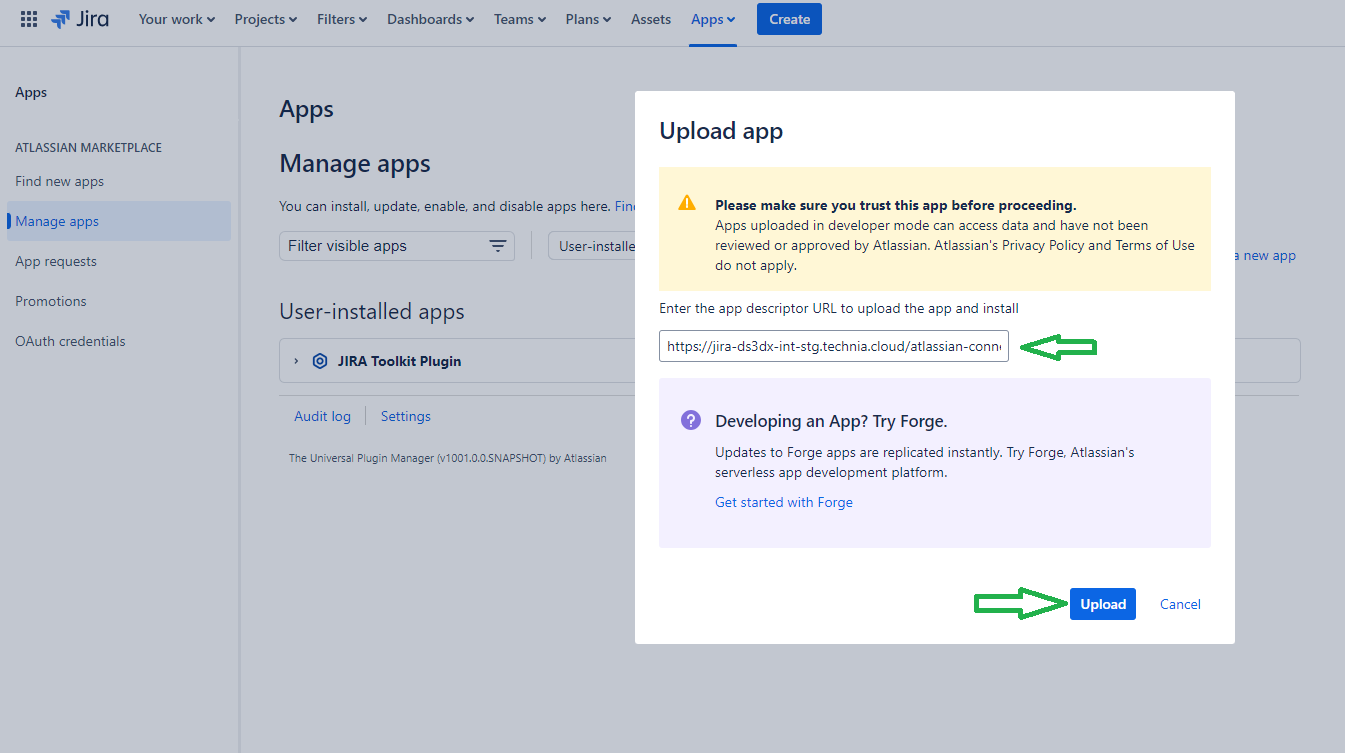
Configure the 3DX connector
-
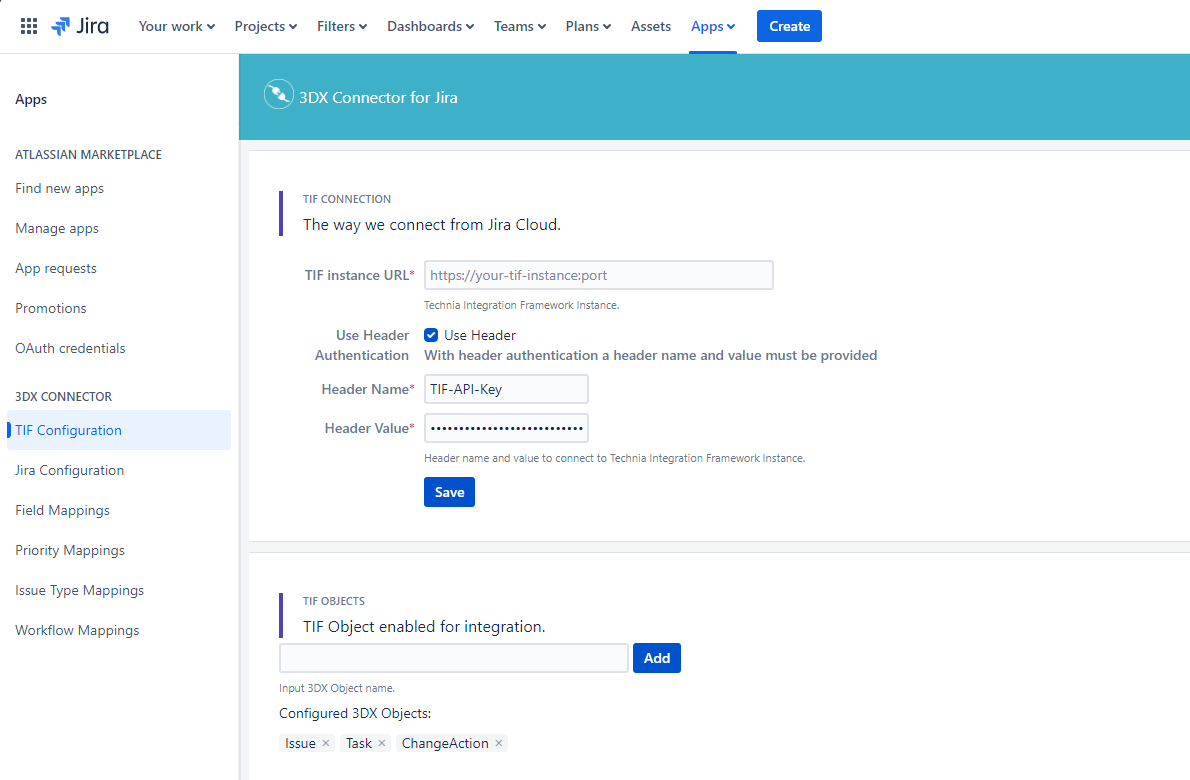
Enter the TIF instance URL
-
Check the Use Header checkbox
-
Enter the Header name as TIF-API-Key
-
Enter the Header value and click save
-
Enter the 3DX object types which need to be used for the integration as follows
-
Issue
-
Task
-
ChangeAction
-
-
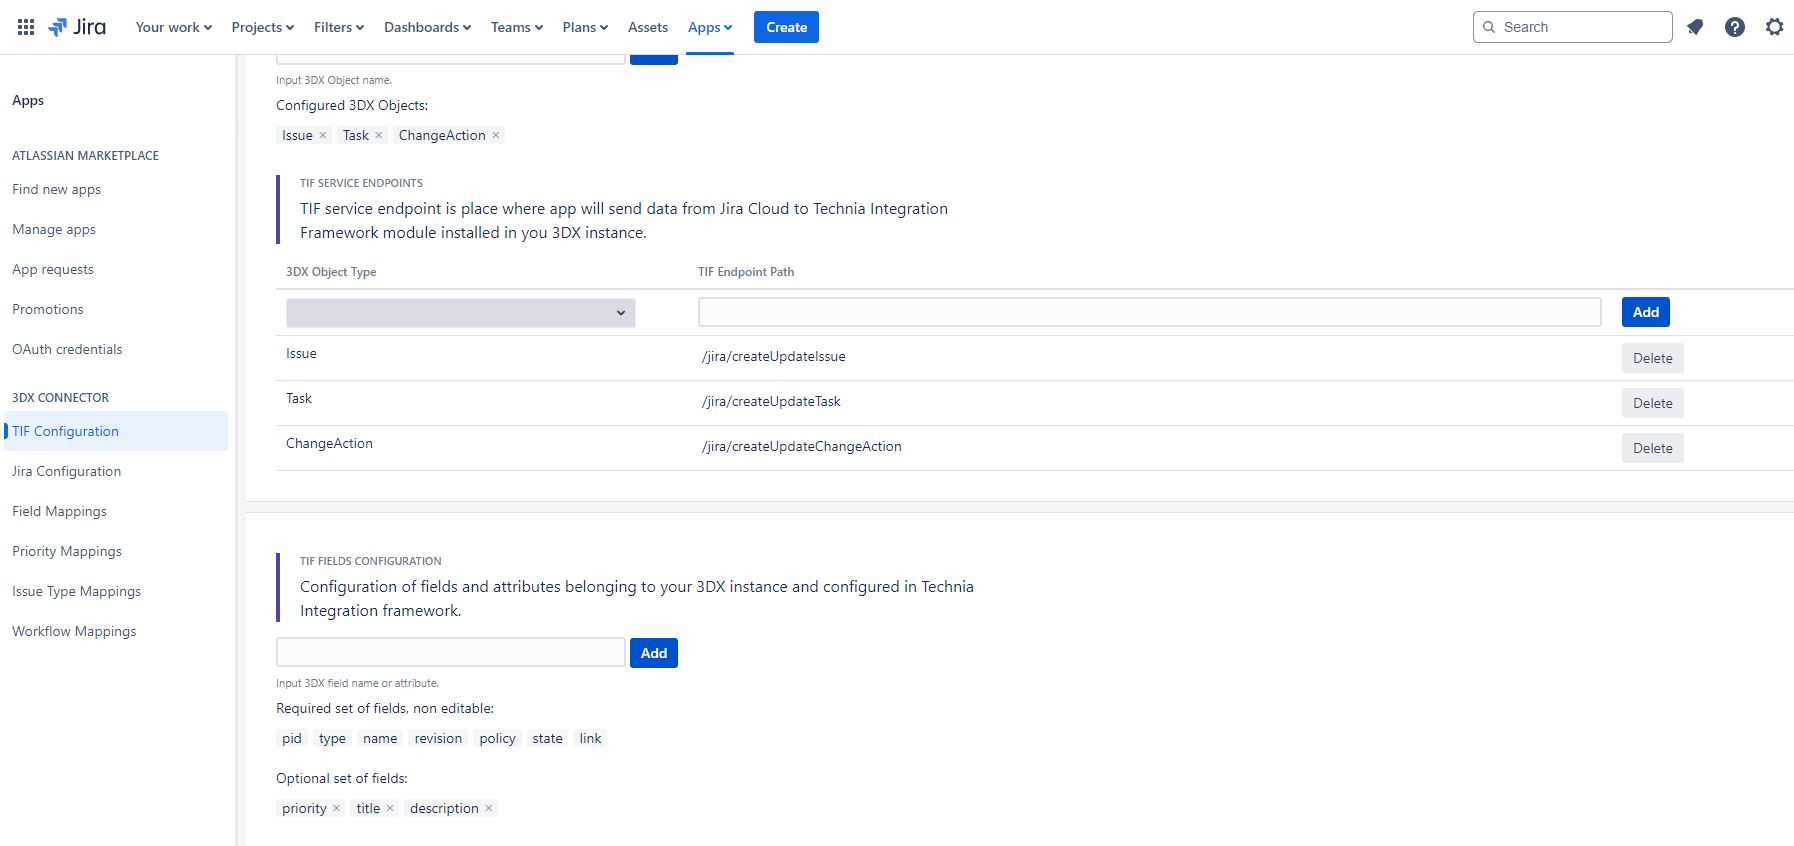
Configure the service end-points, So that create/update of configured objects we will get the events in TIF.
-
Issue
-
Task
-
ChangeAction
-
-
Configure some optional fields as follows
-
priority
-
title
-
description
-
-
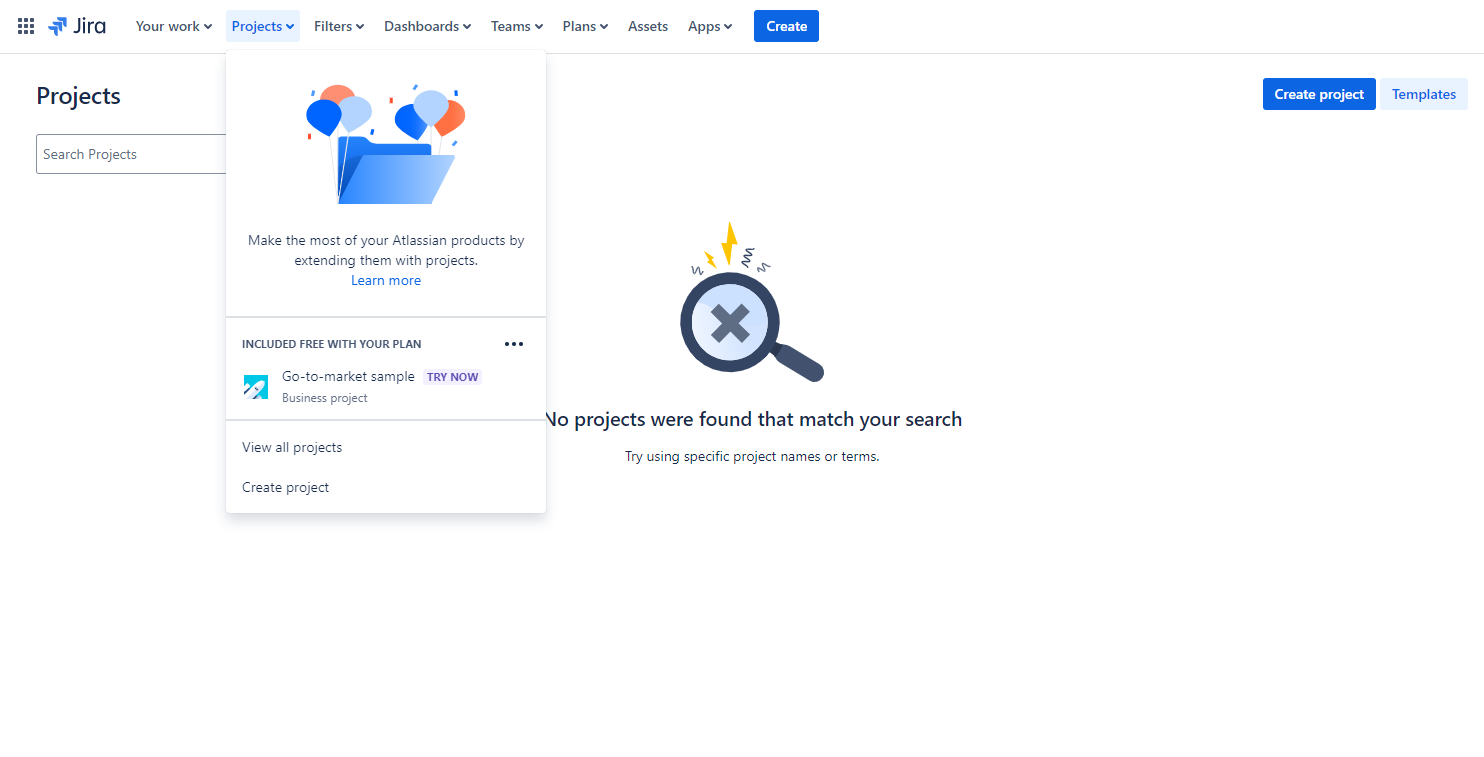
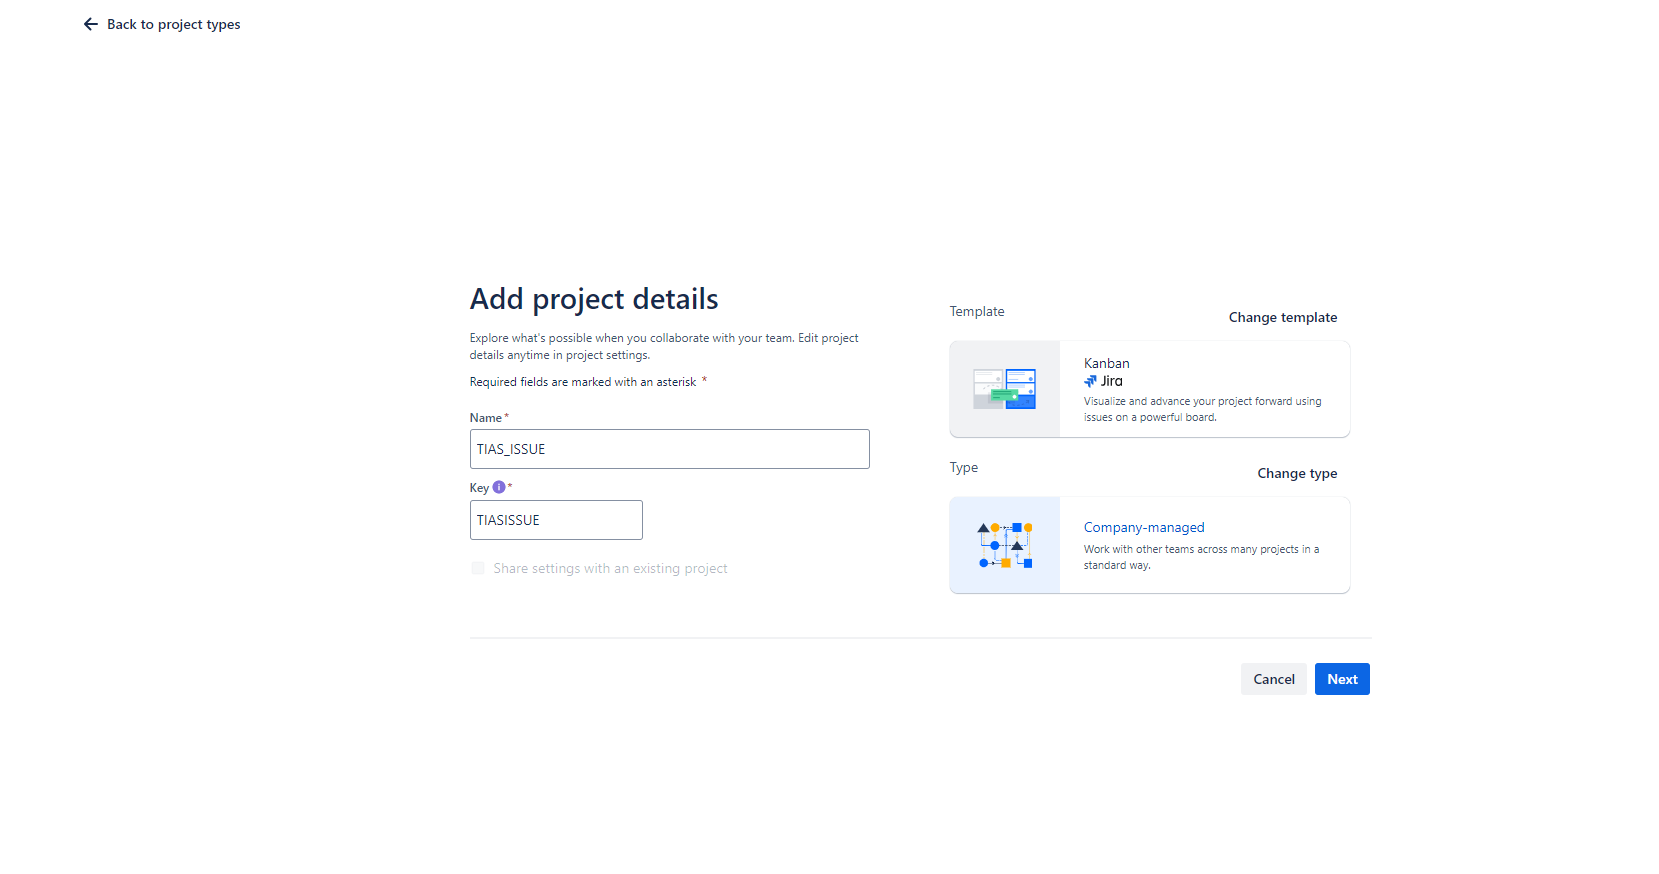
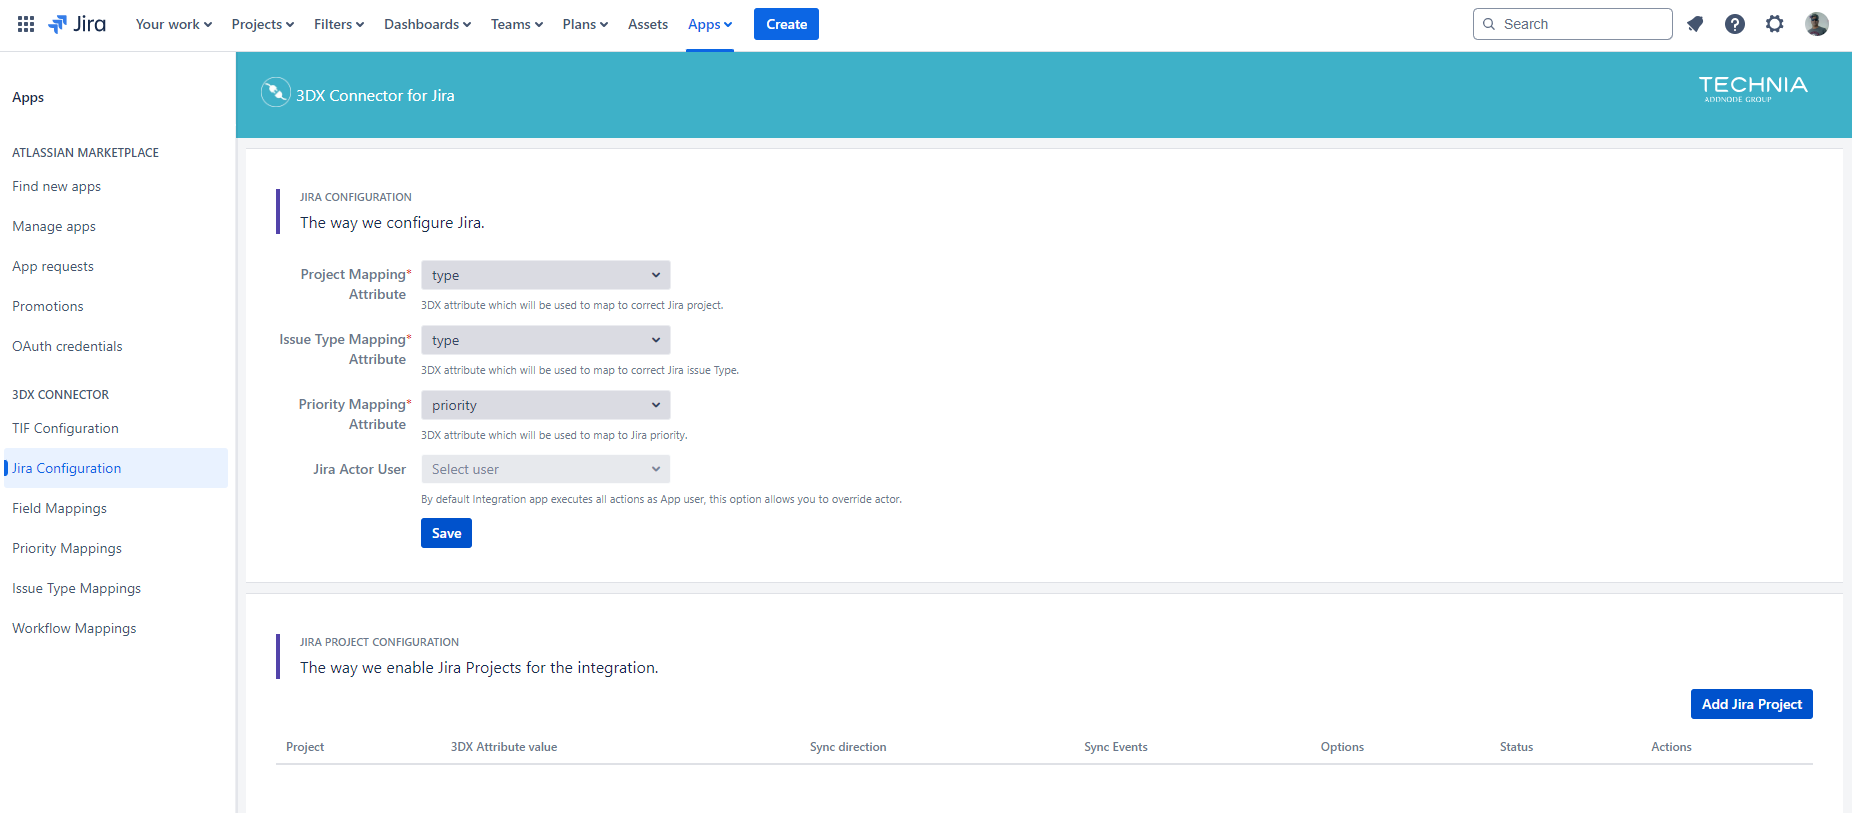
Configure the Jira configuration
-
Project mapping
-
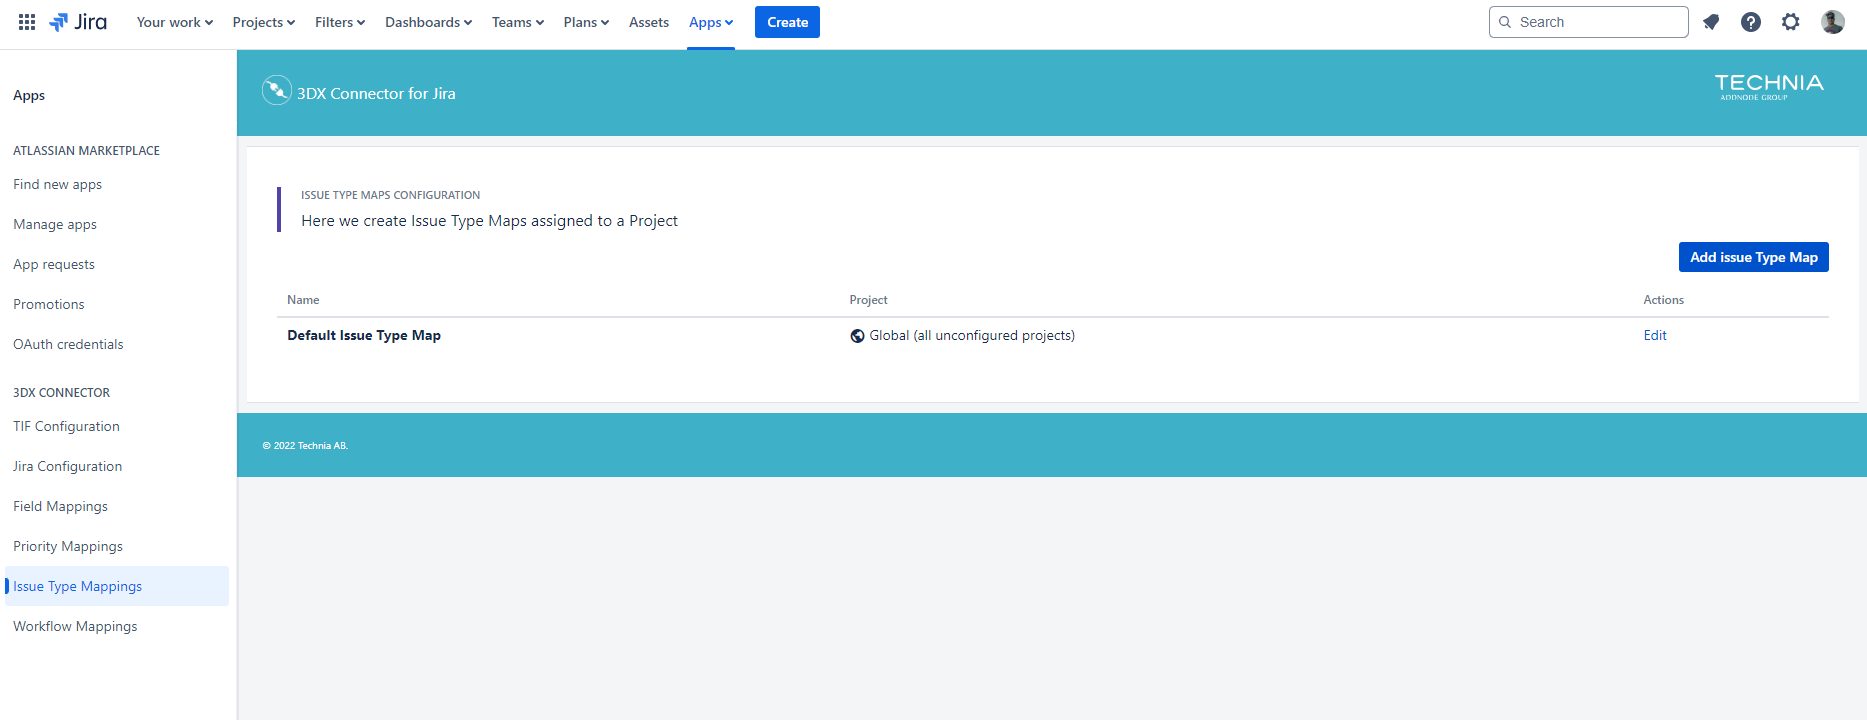
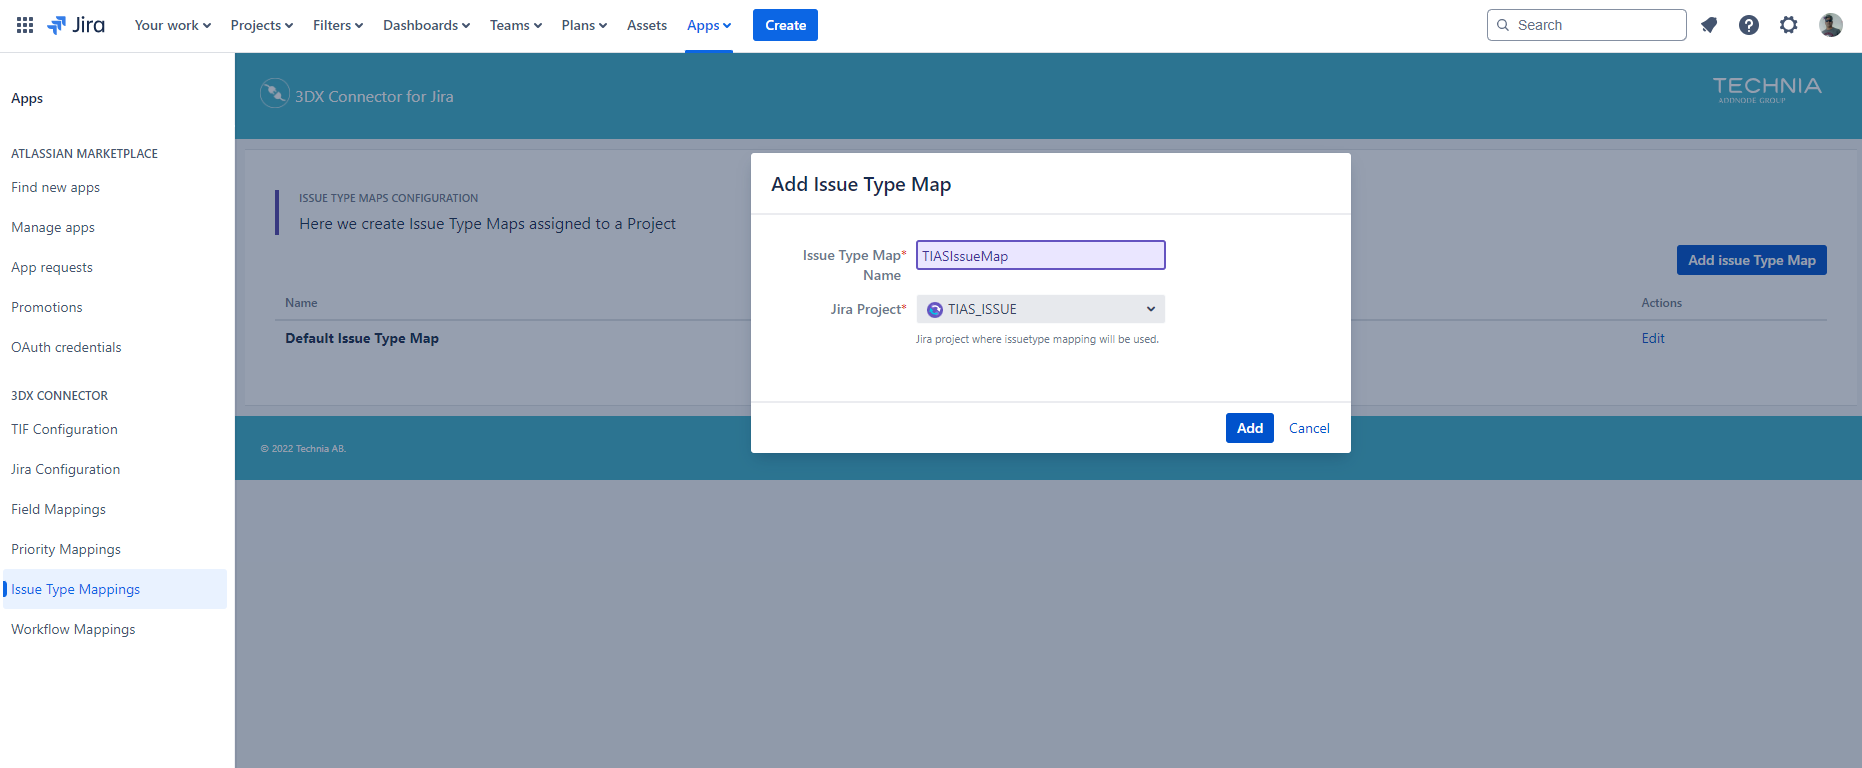
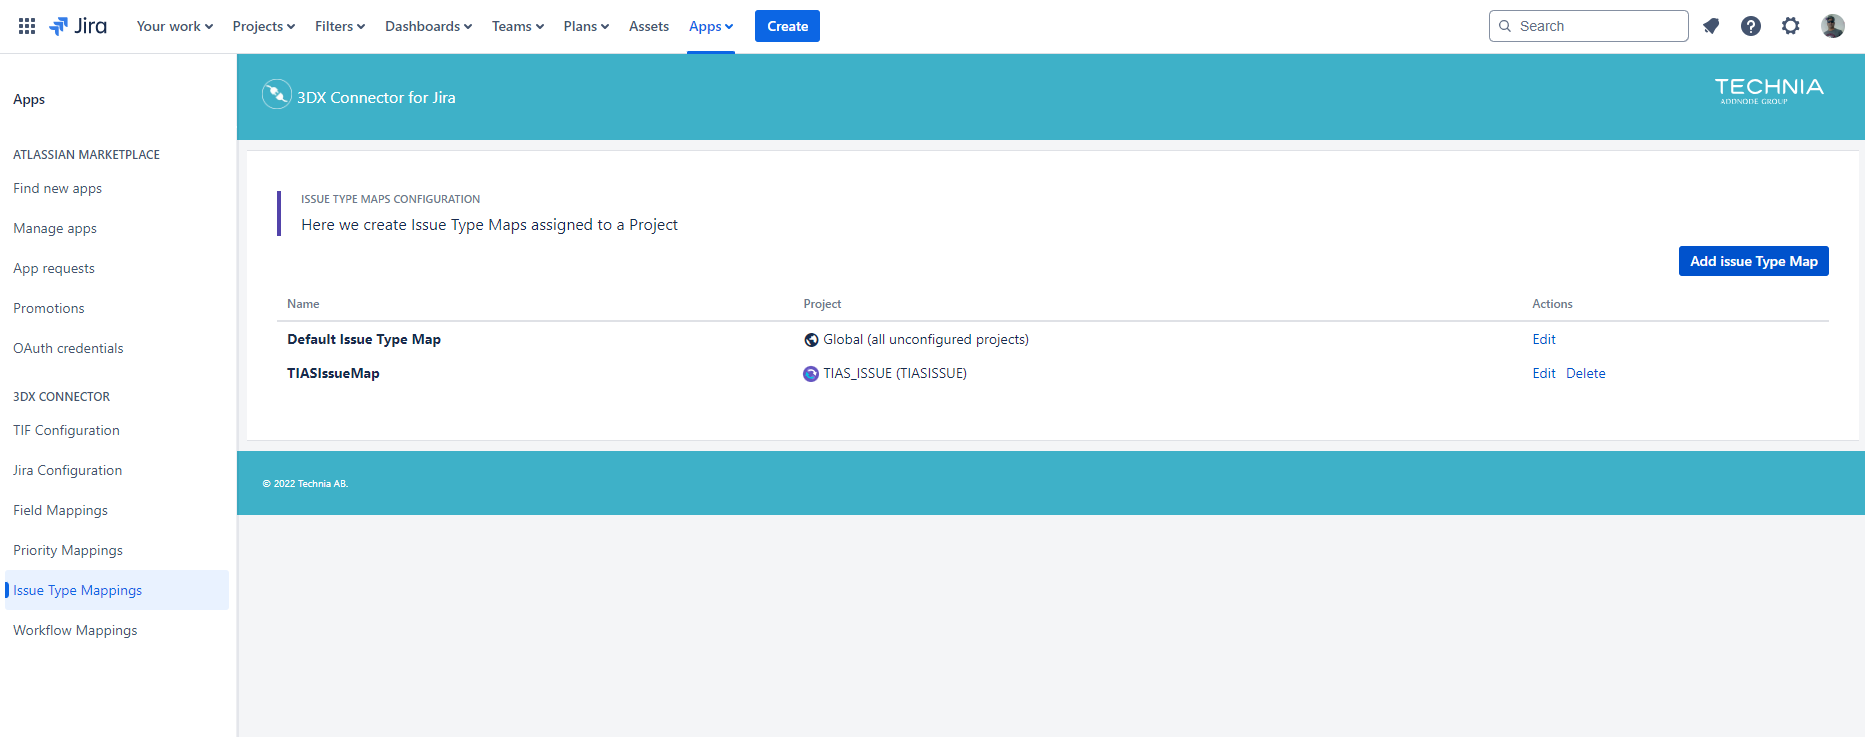
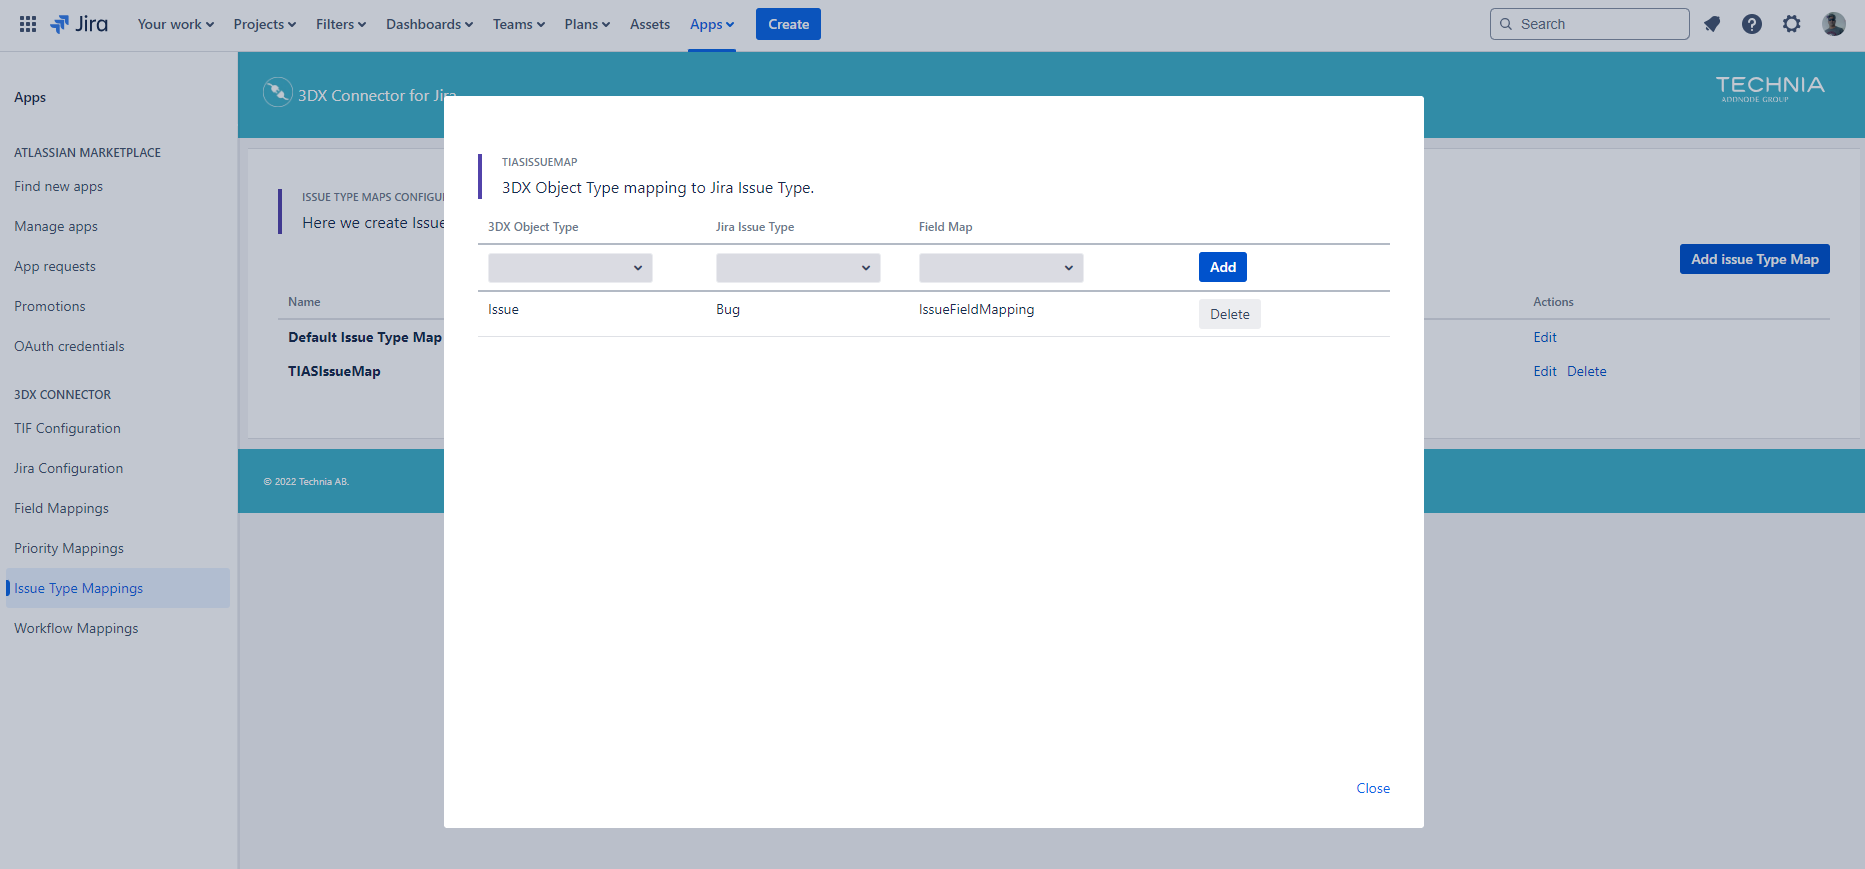
Issue type mapping
-
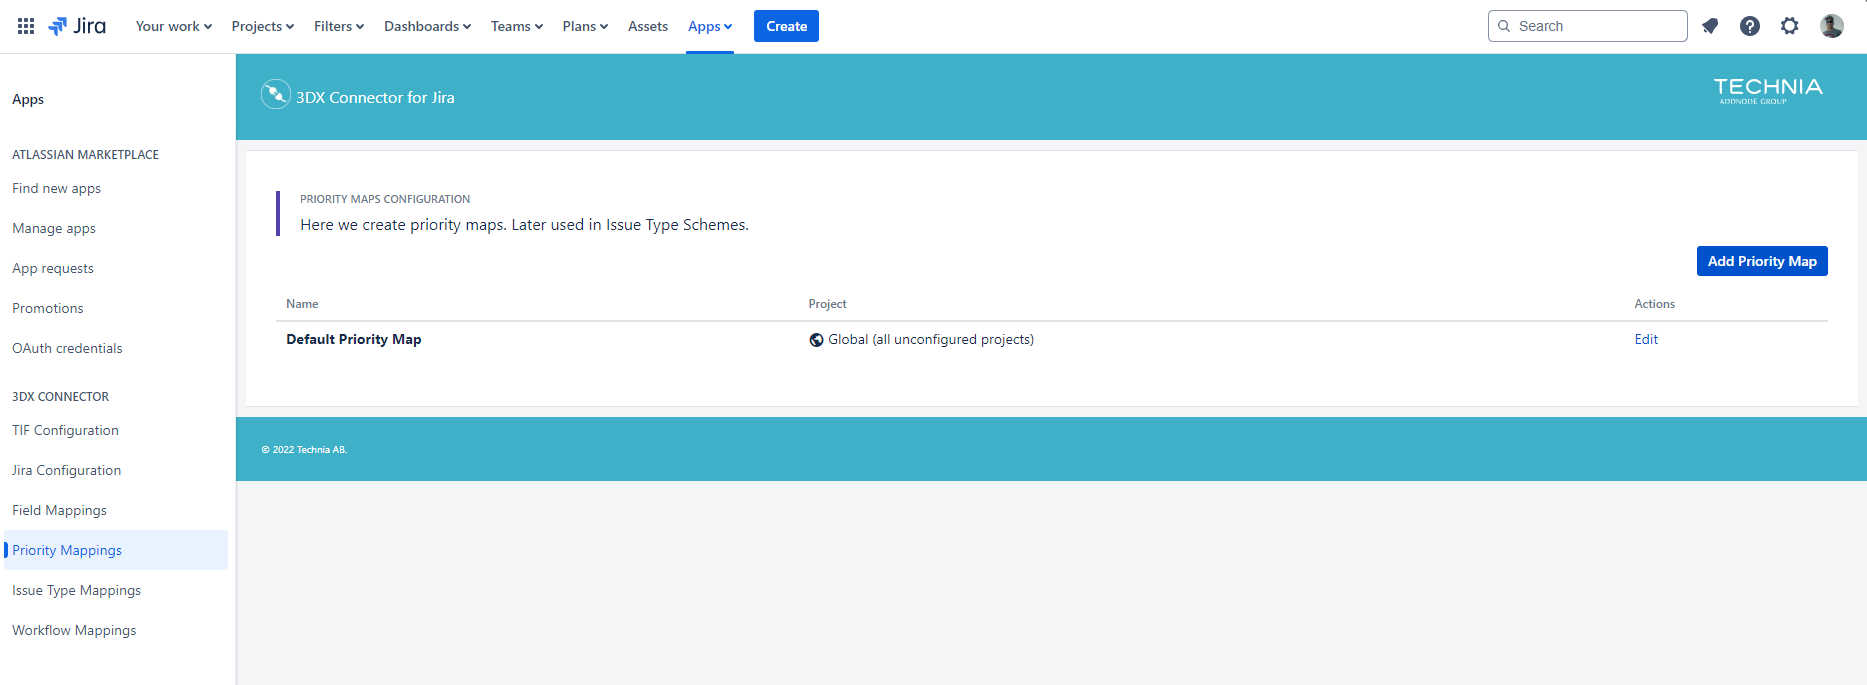
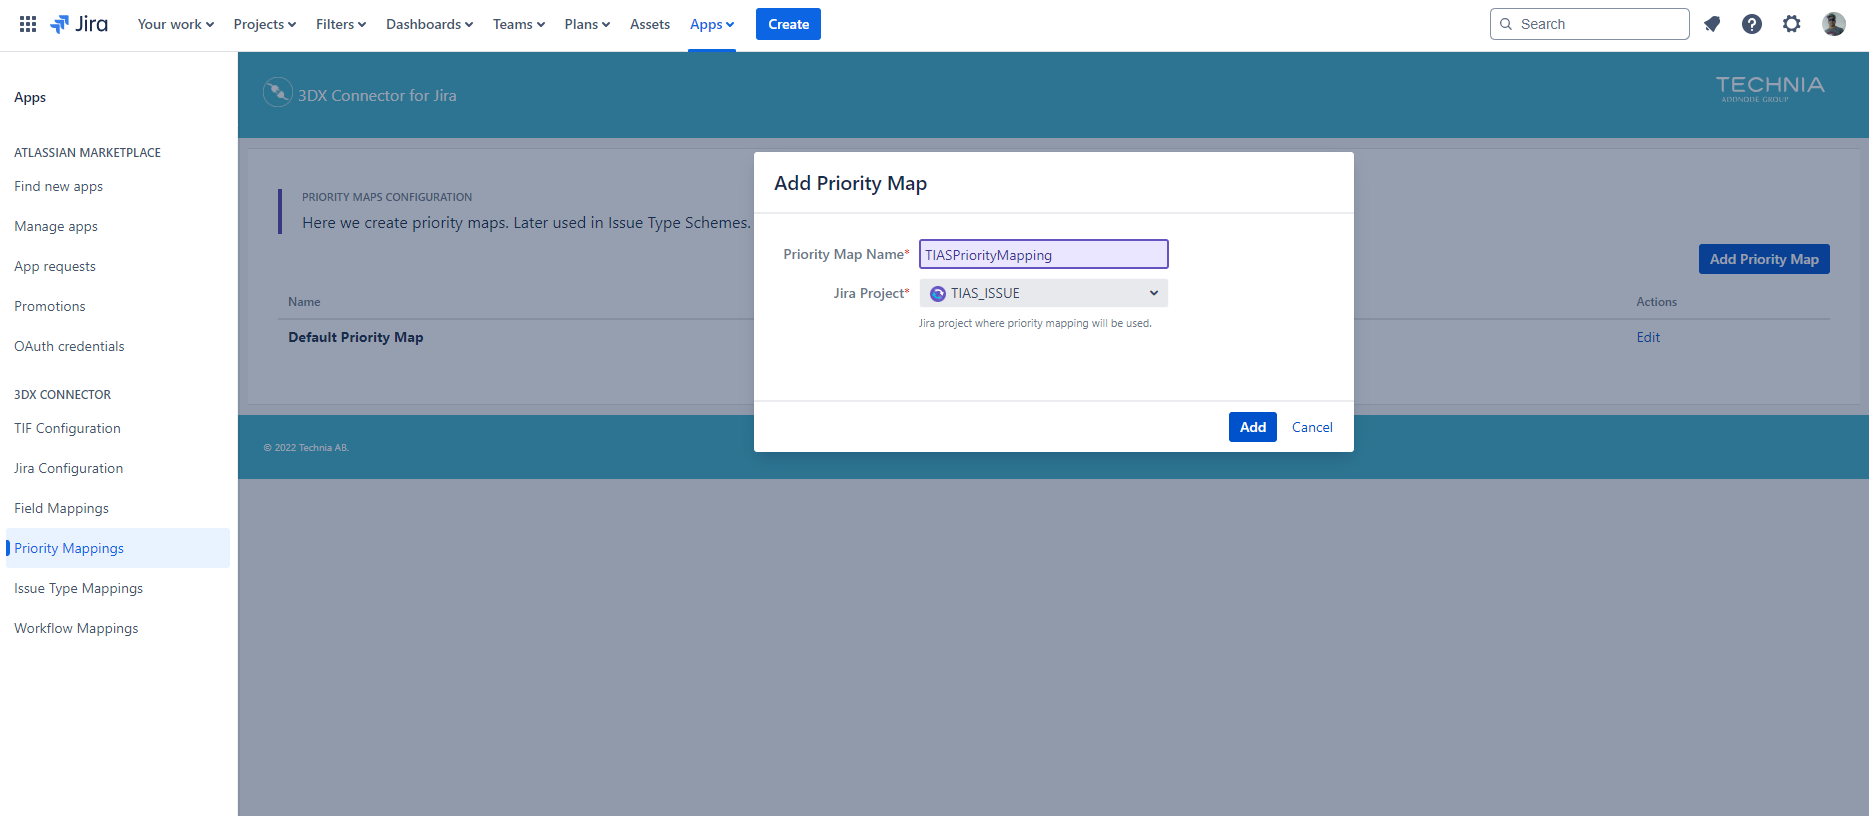
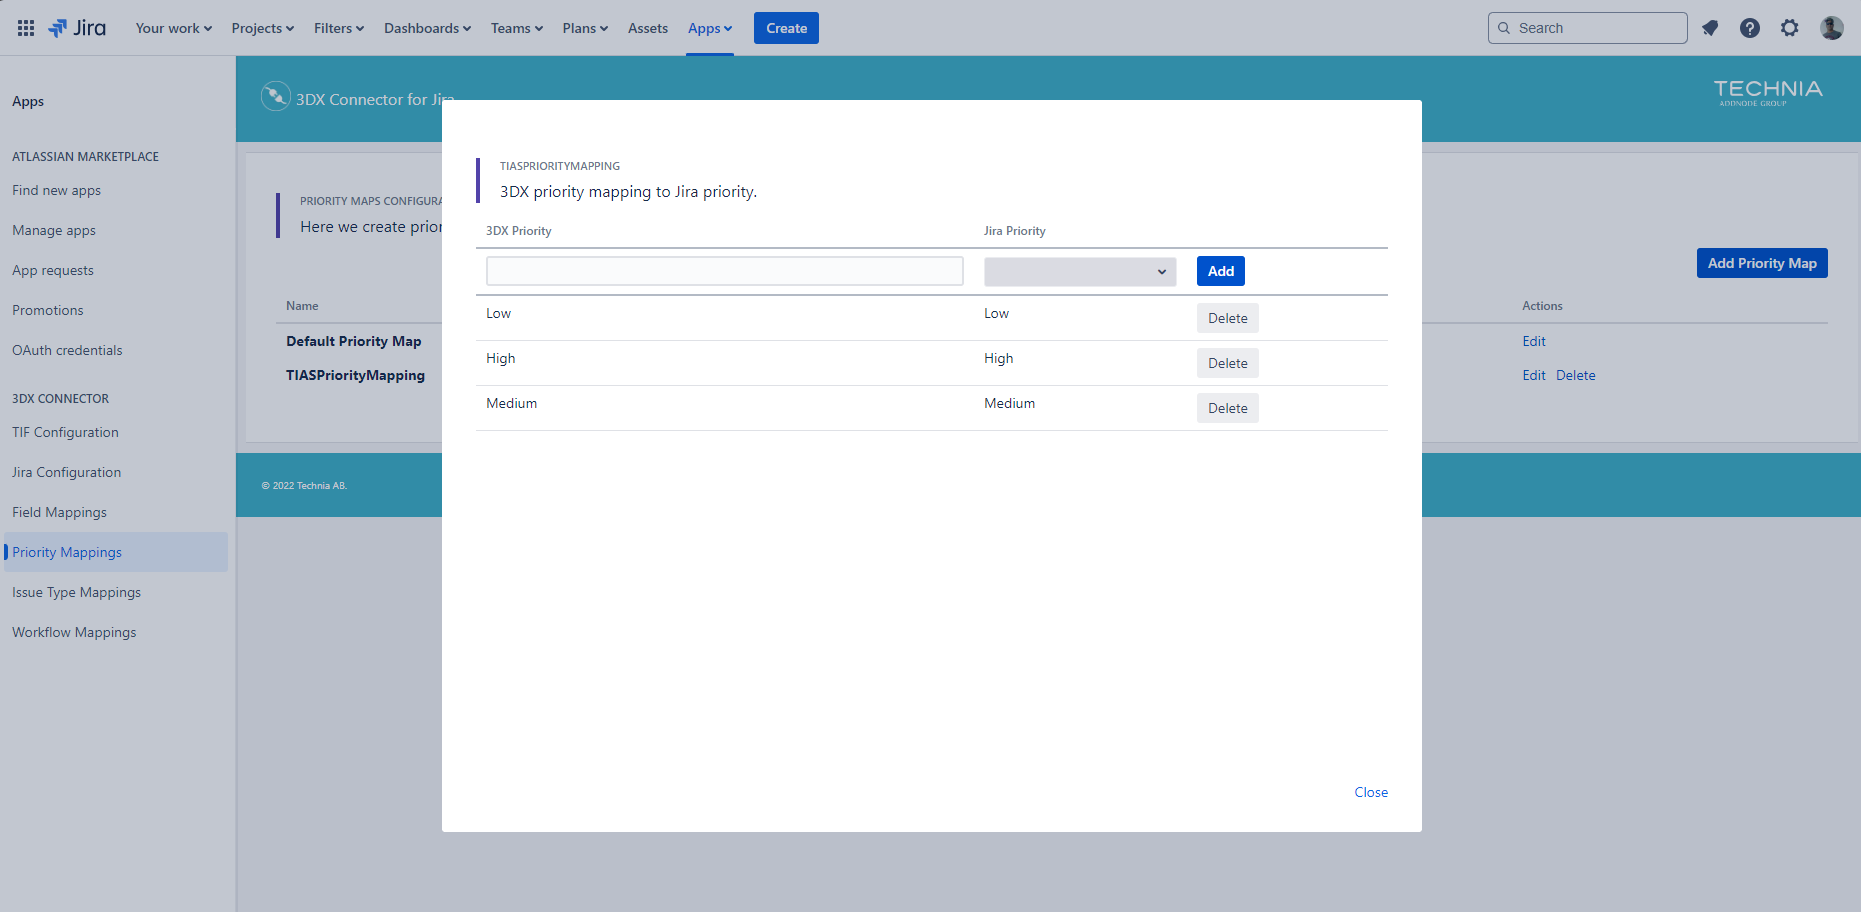
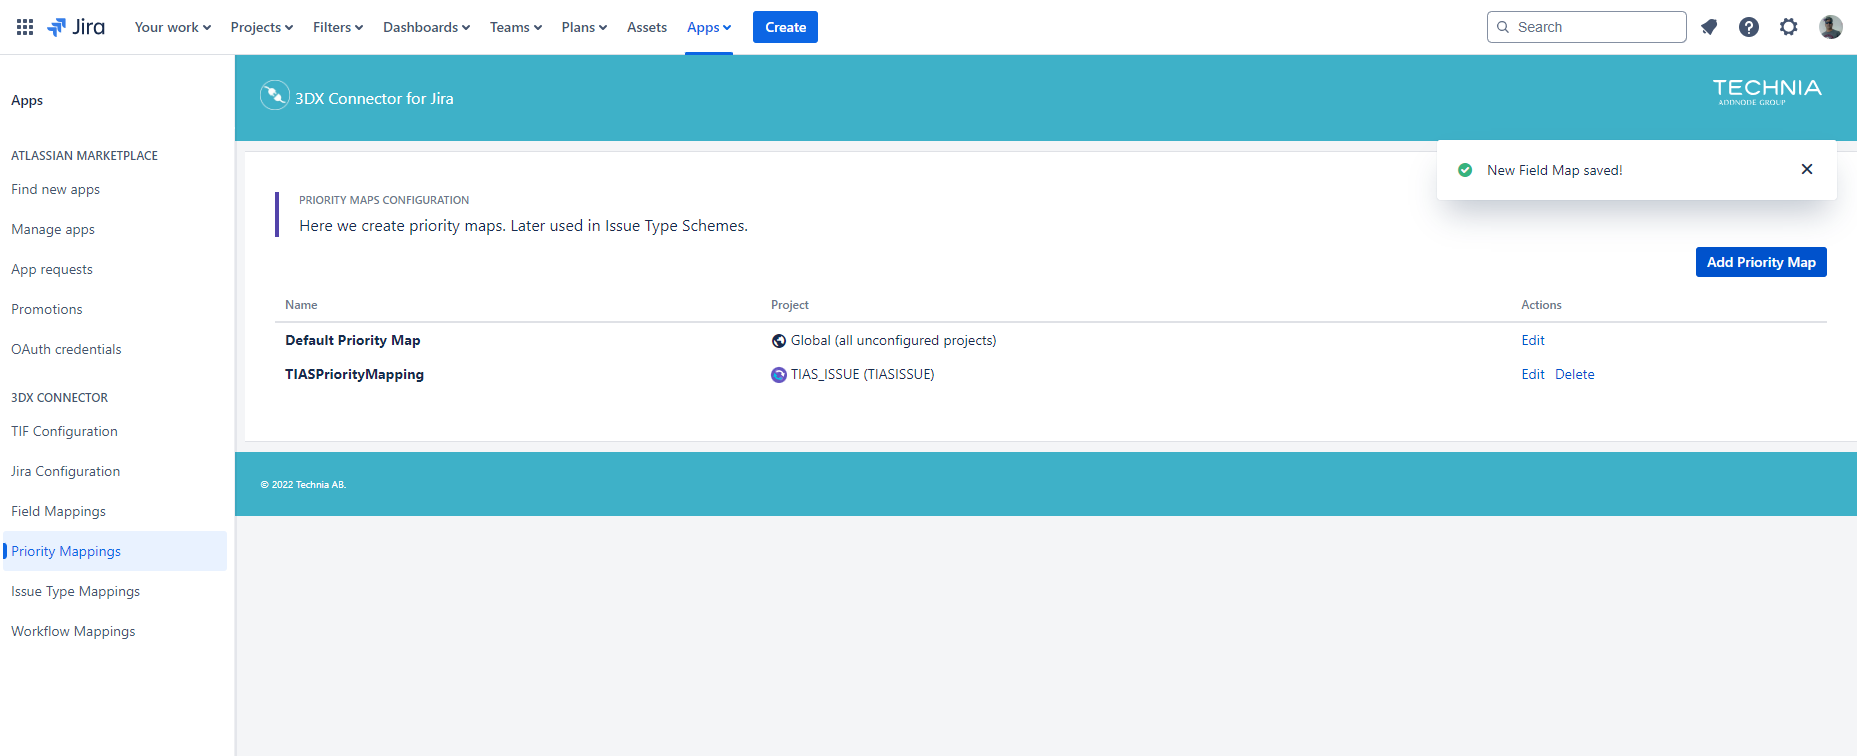
Priority mapping
-
Then click on Add Project for Project integration with Jira.
-
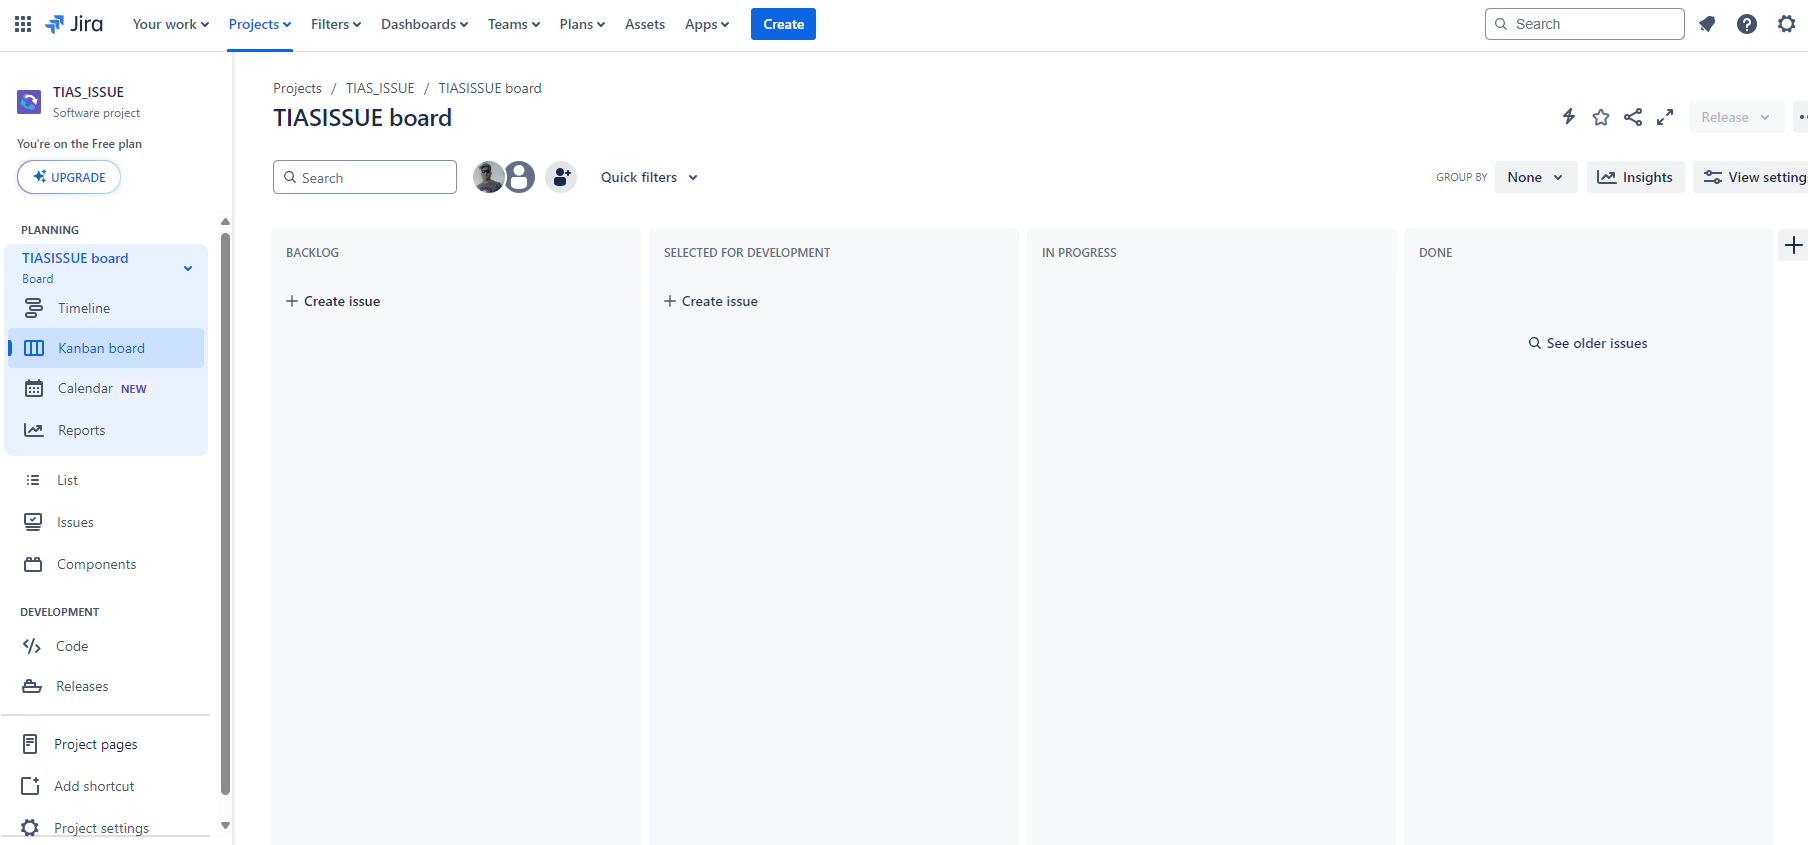
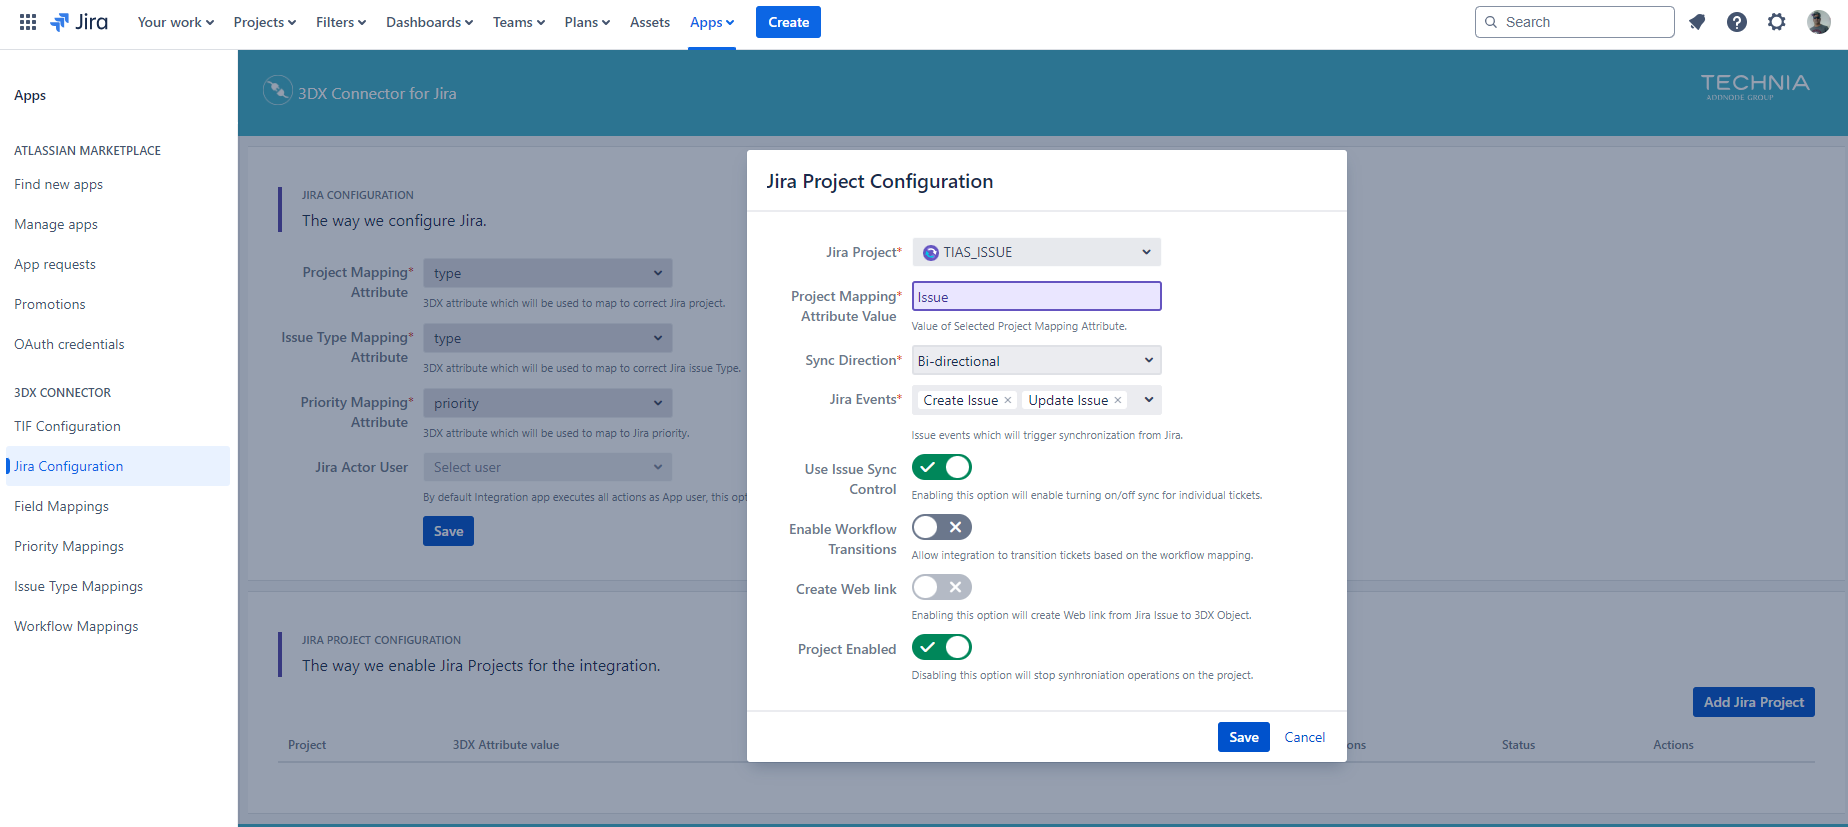
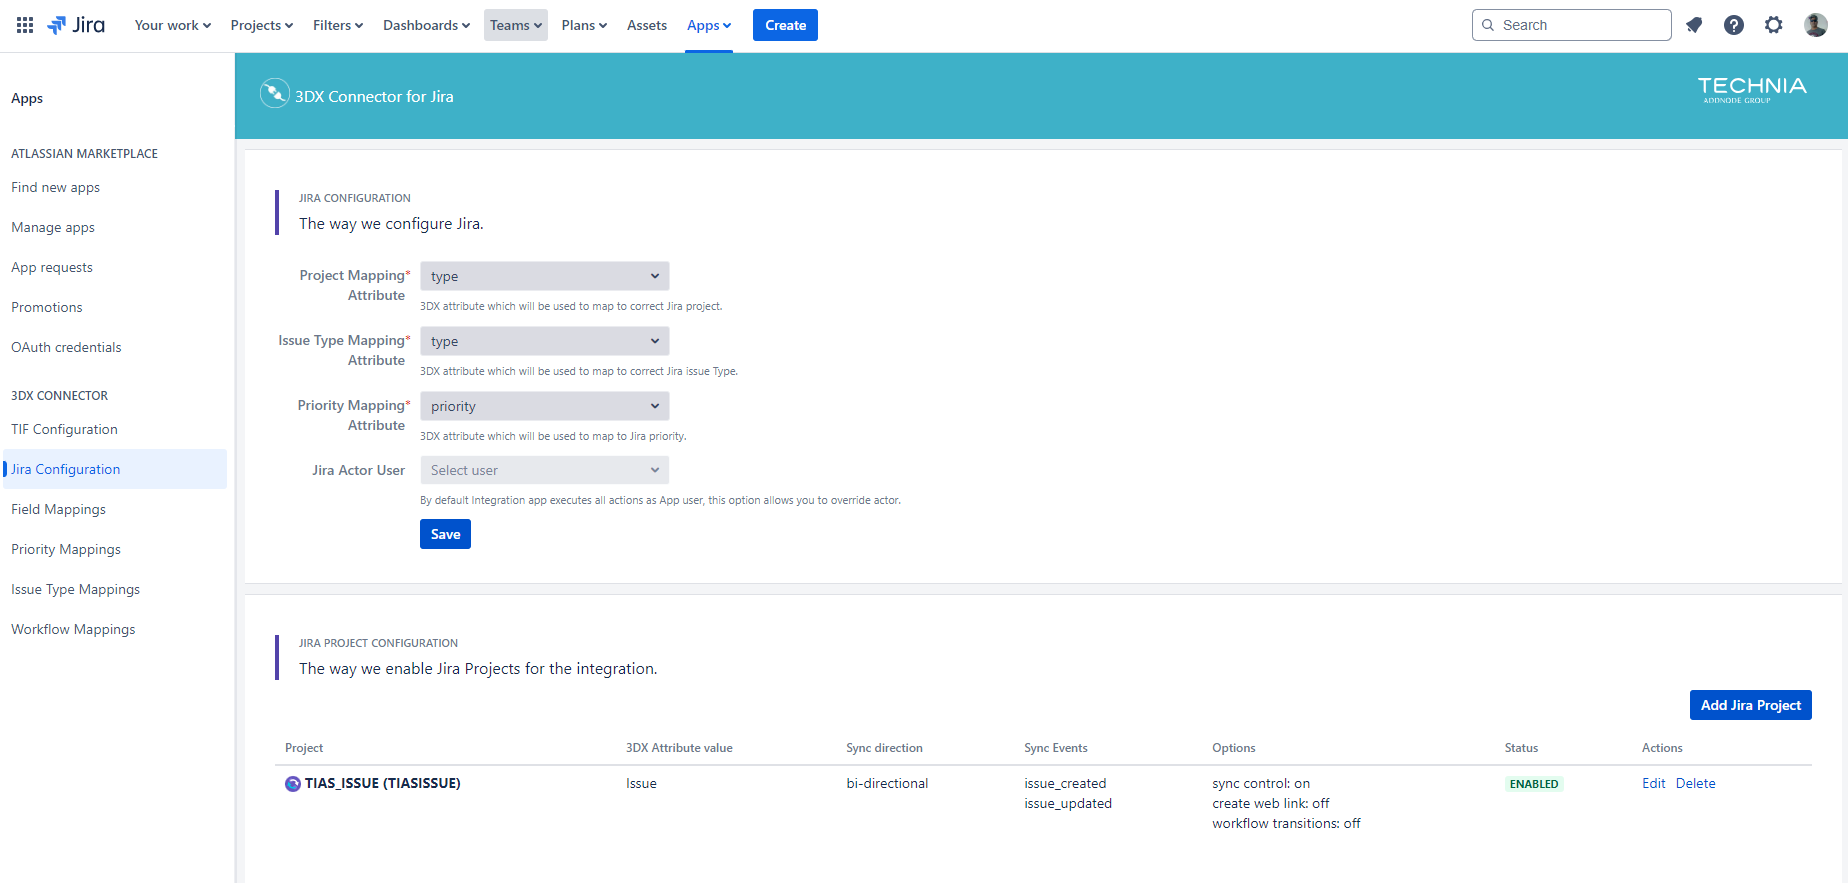
Configure the Jira project integration
-
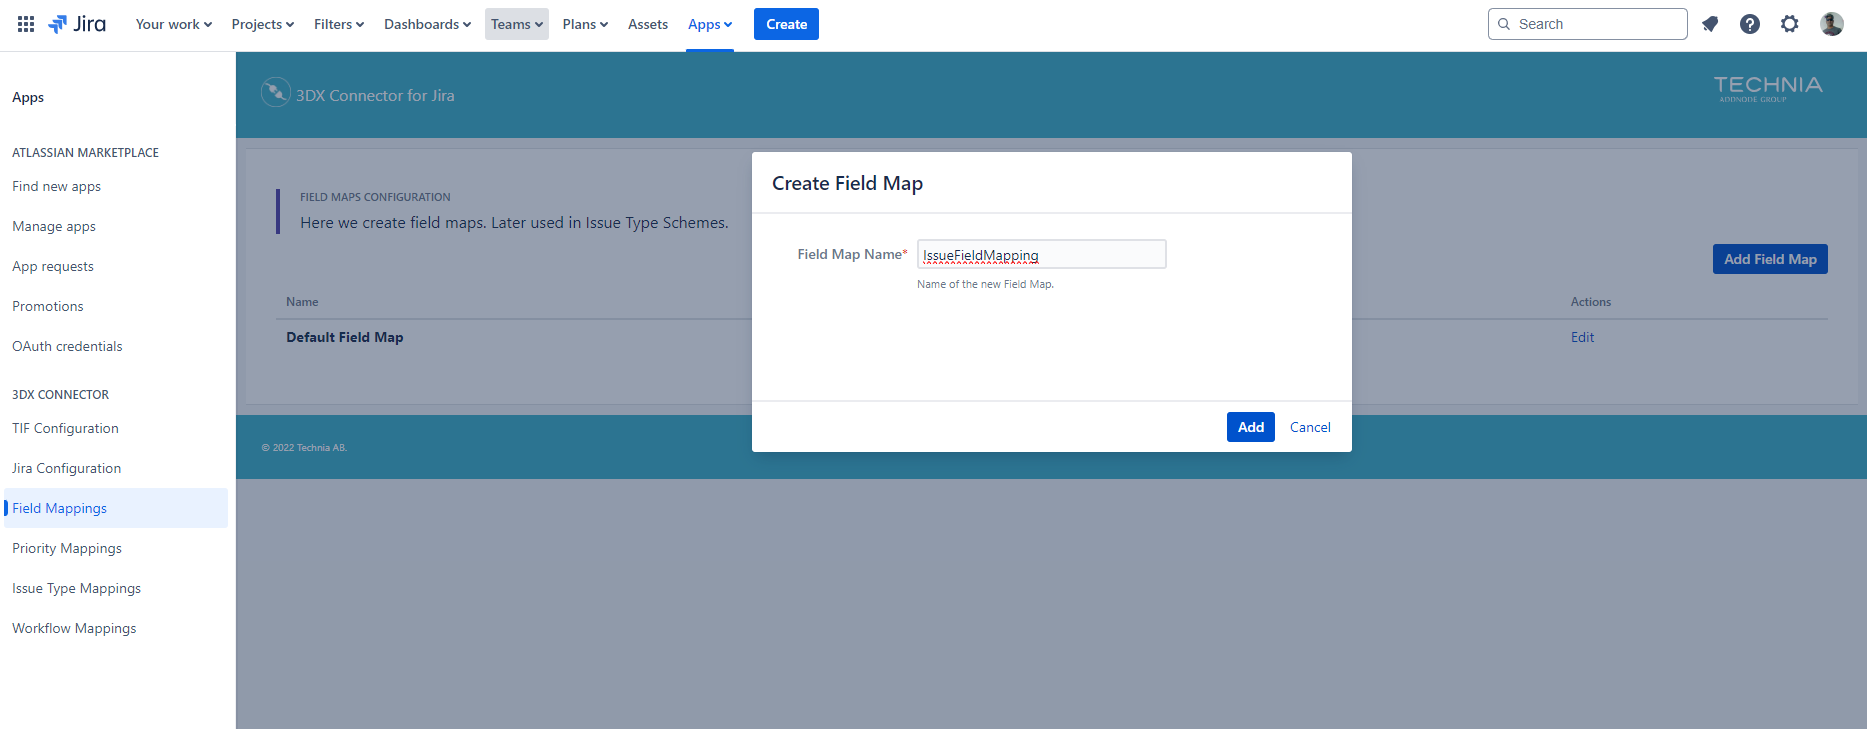
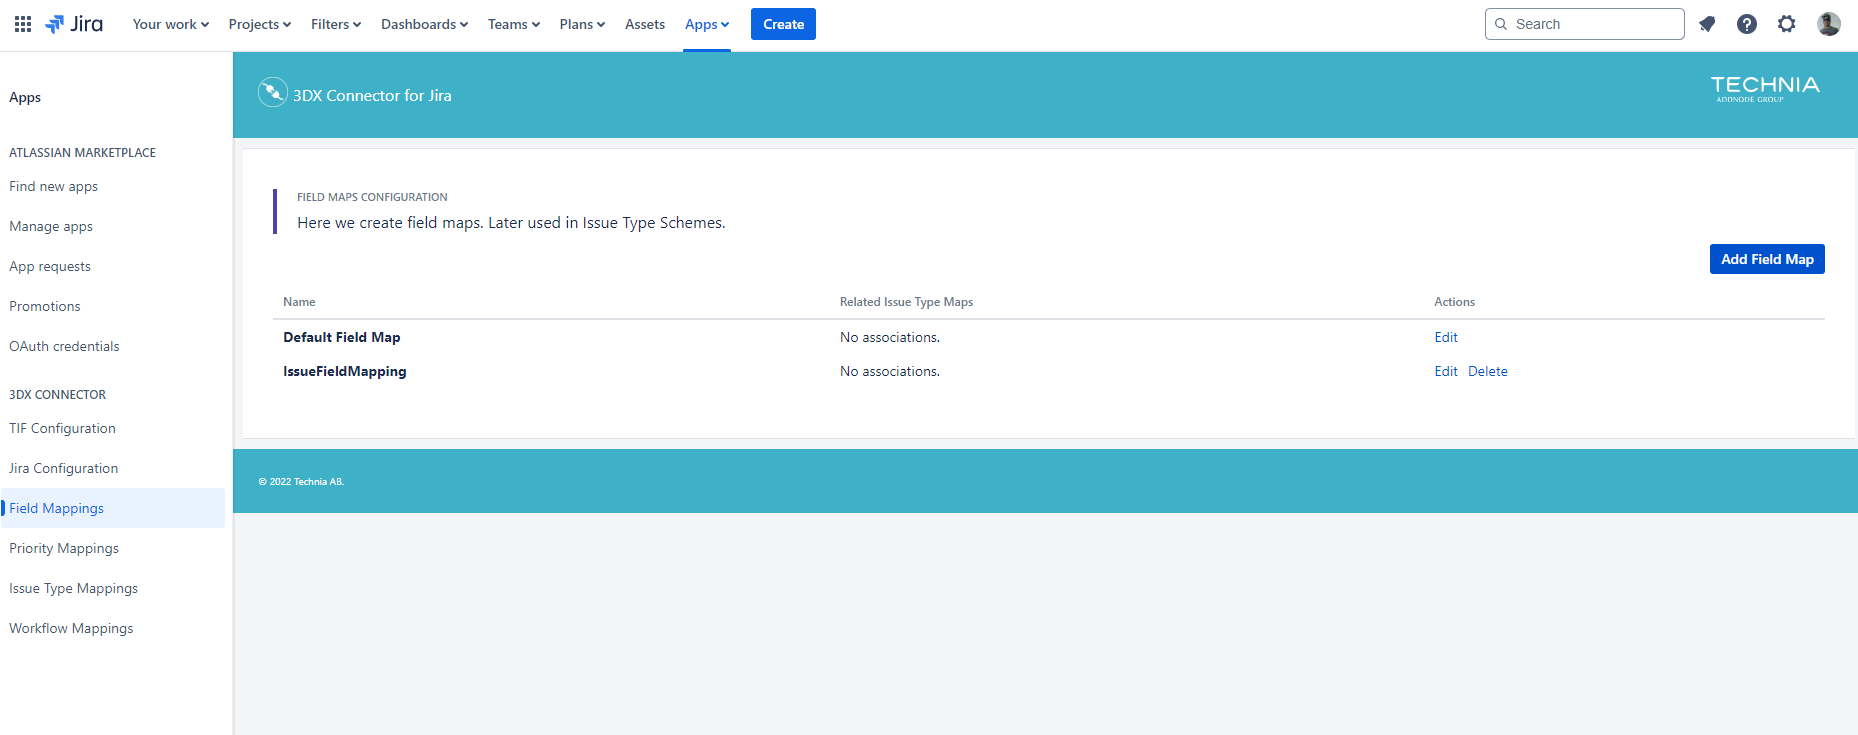
Configure the field mapping as shown below
-
Field priority mapped with Priority
-
Field title mapped with Summary
-
Field description mapped with Description
-

-
Configure the priority mapping
-
Configure the Issue type mapping