Installation and Configurations
Installation
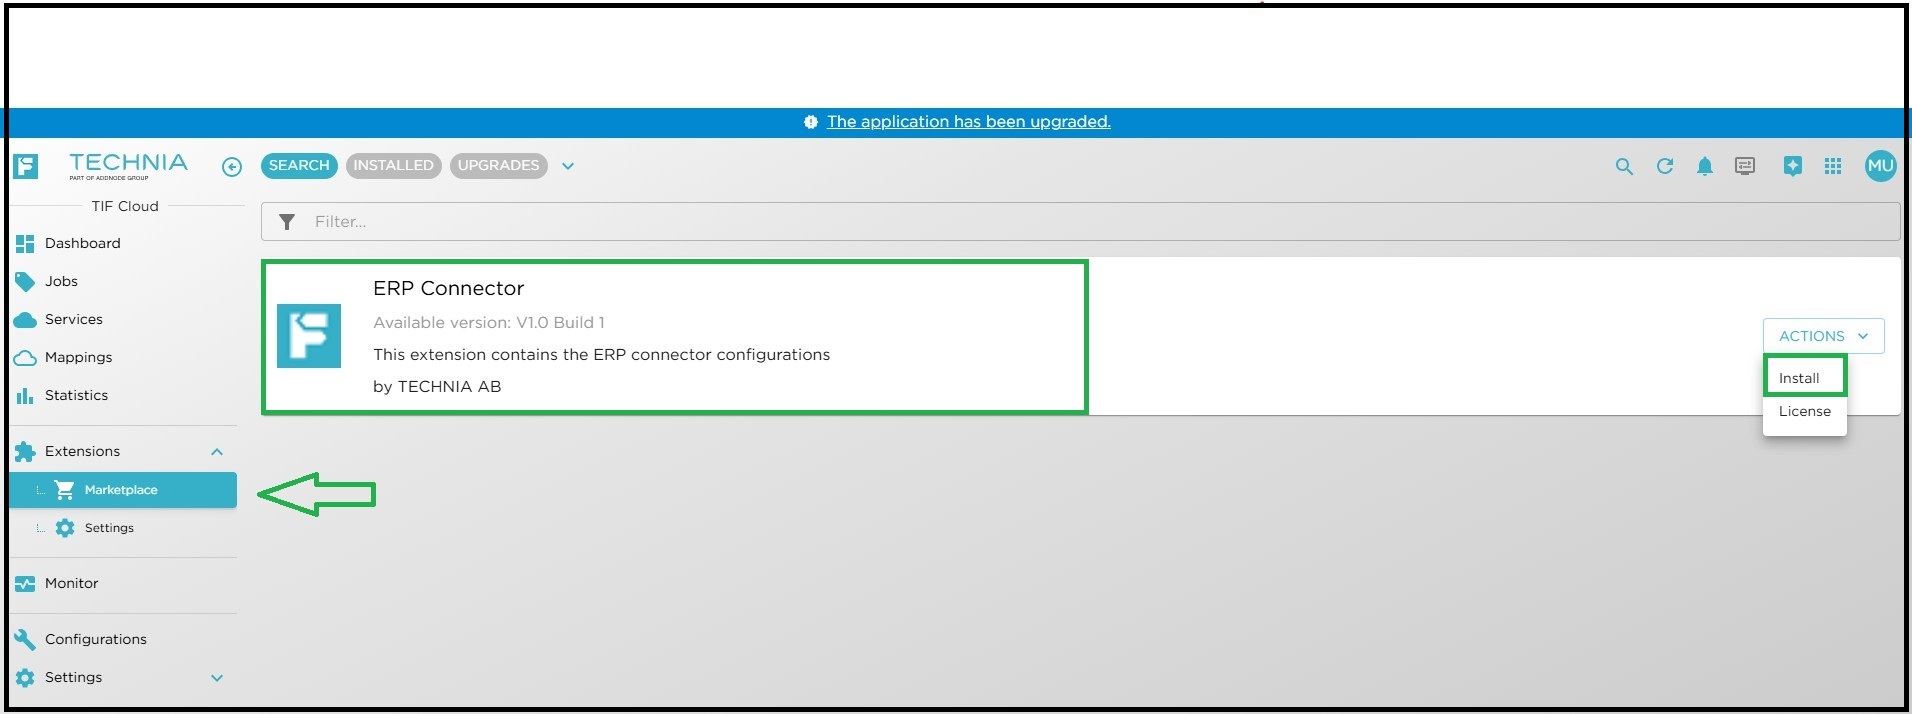
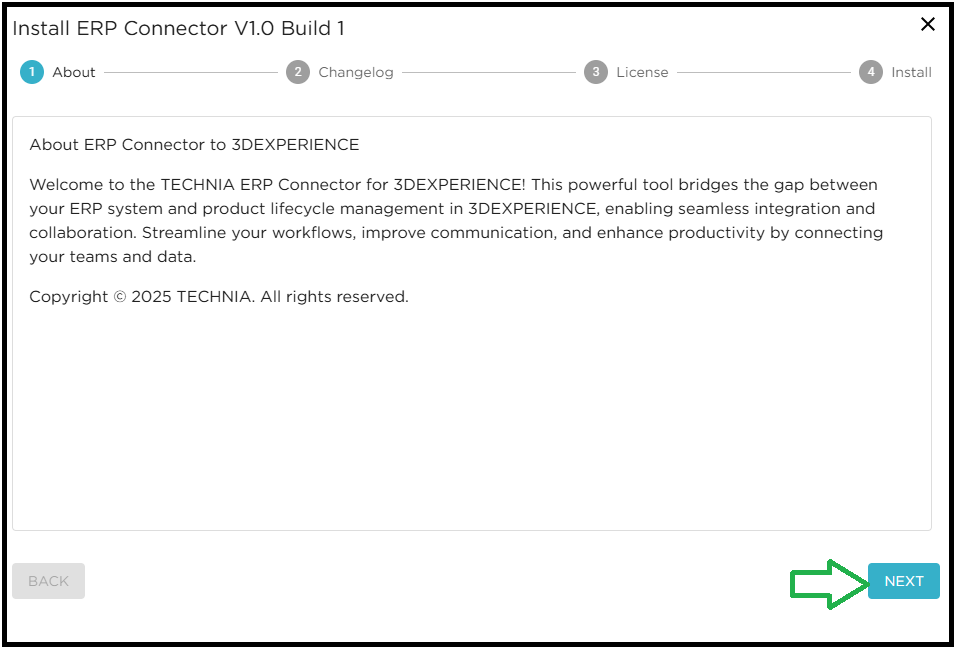
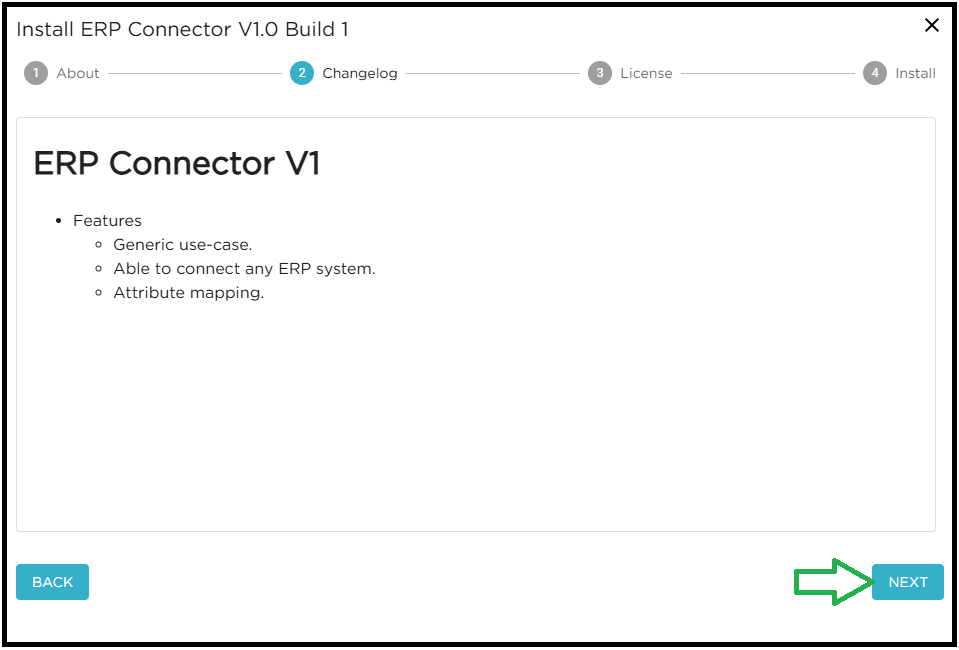
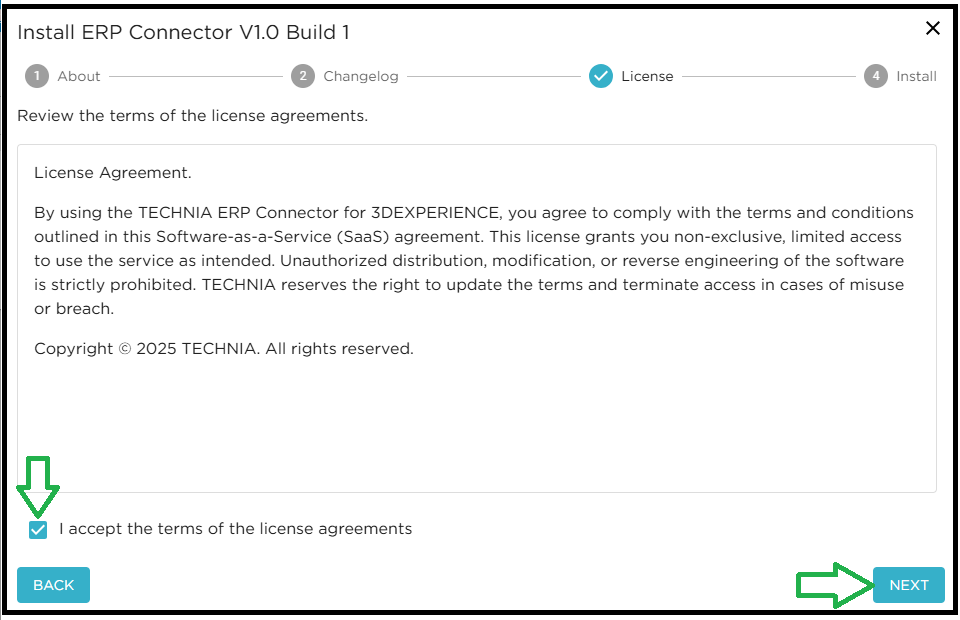
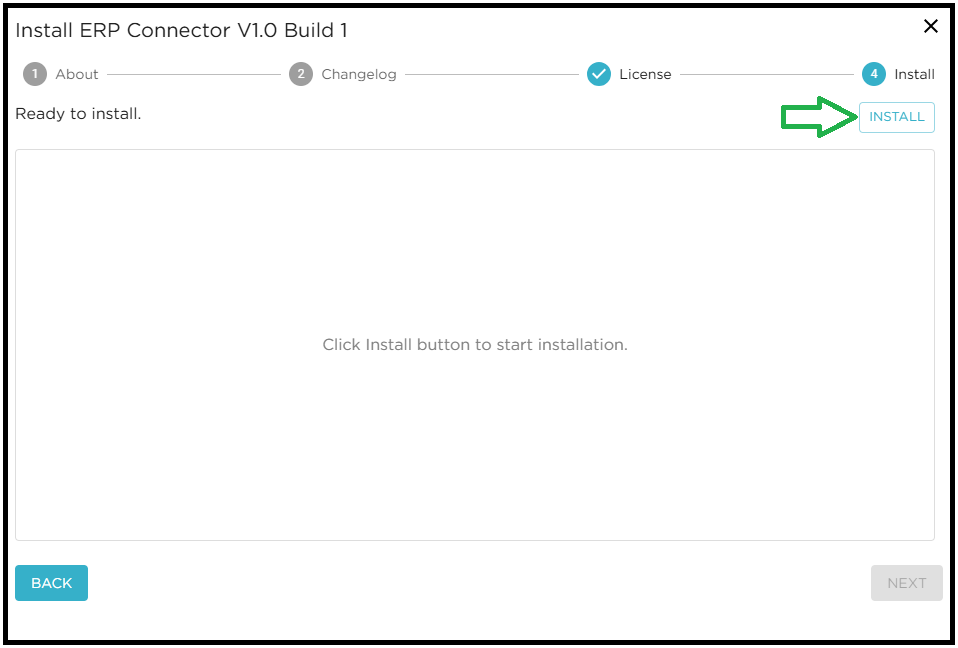
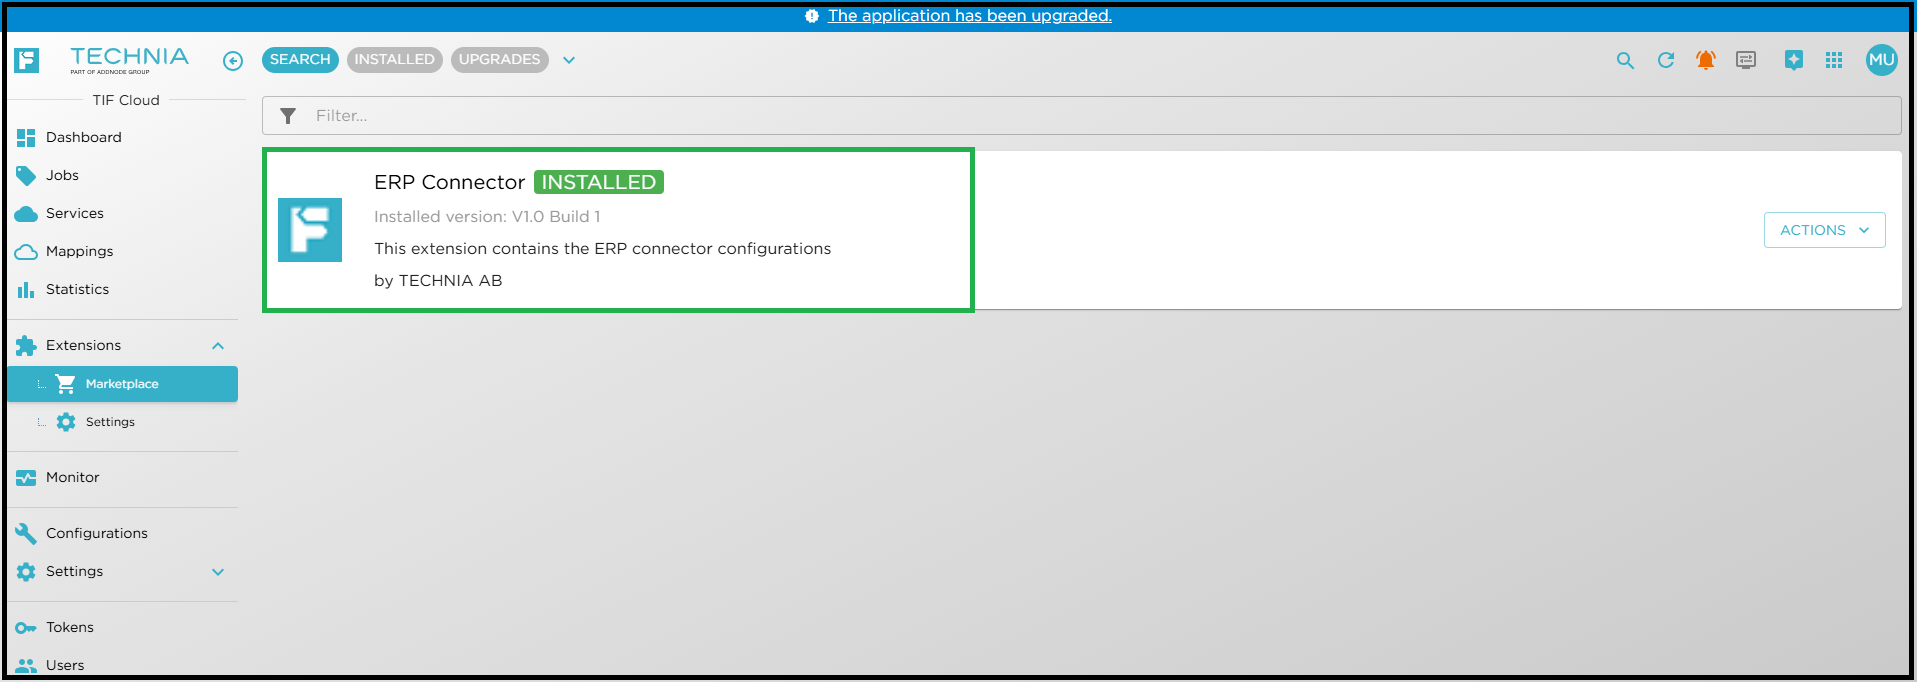
Go to Extensions → Marketplace → Search for extension ERP Connector → Click the install action in "actions" menu

Configurations
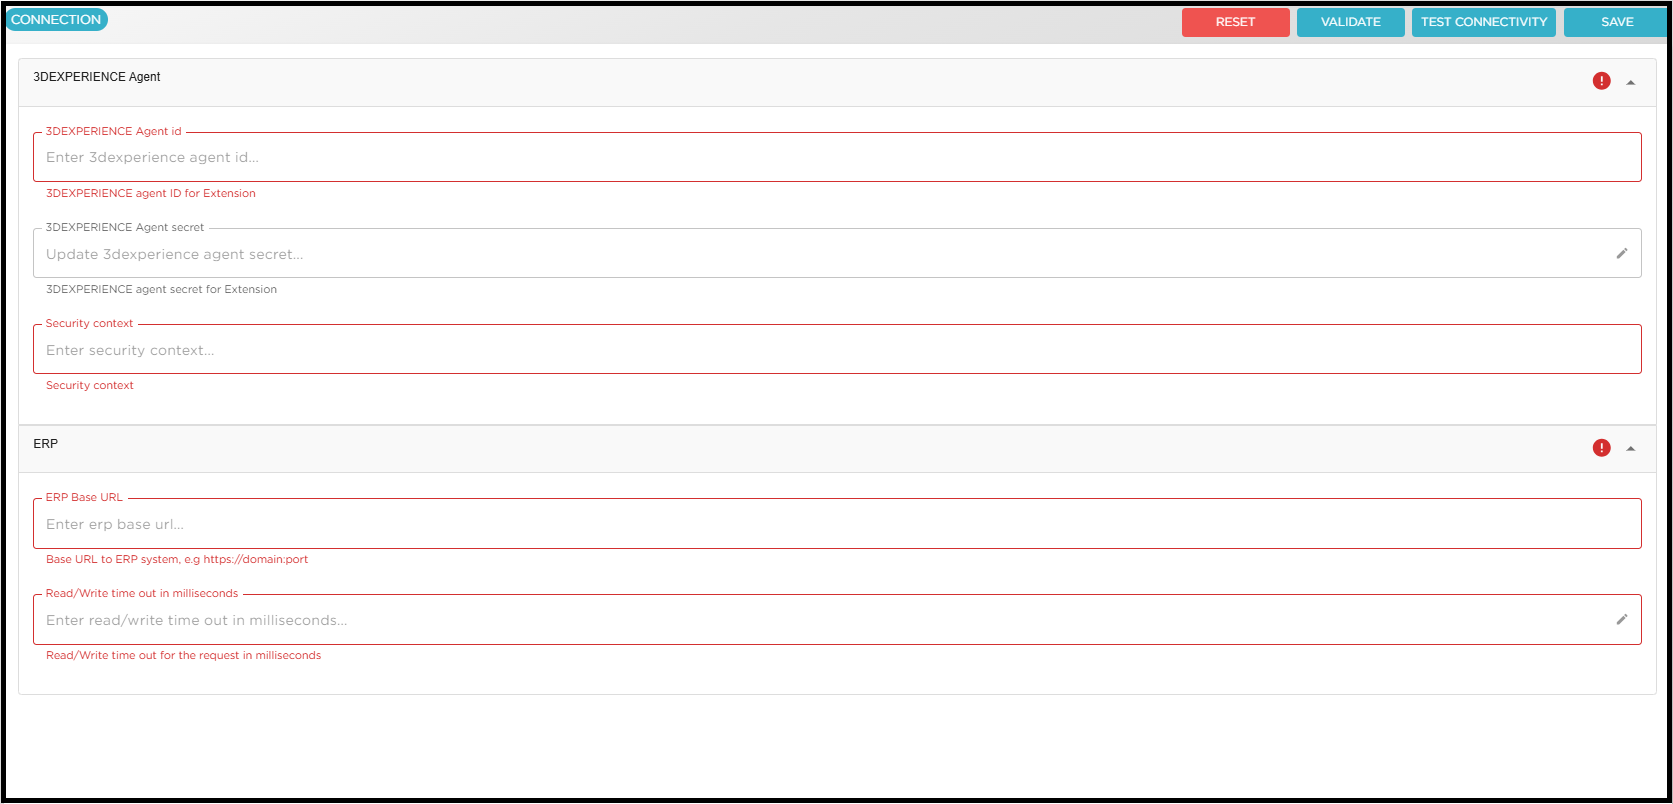
User need to configure the properties as per requirement. There is CONNECTION tab from which the user can configure the properties as shown below.
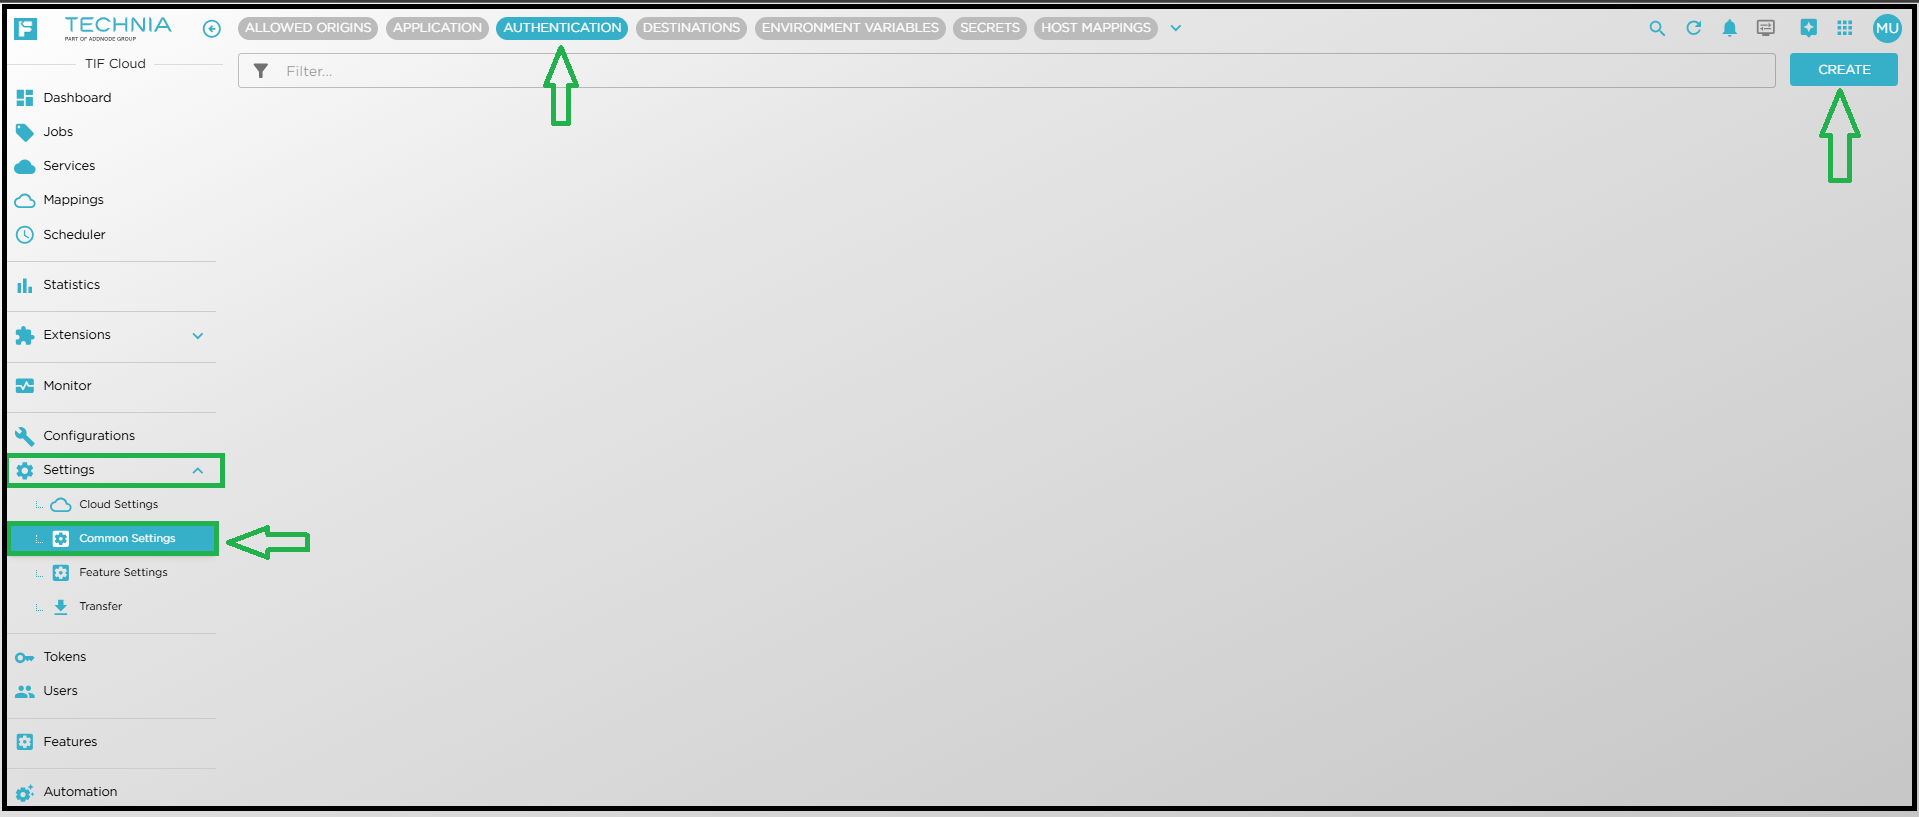
Configure the following properties from Extensions → Settings.
Connection
In this tab, User need to configure 3DEXPERIENCE Agent ID/Secret under 3DEXPERIENCE Agent section.
| Setting | Description | Example |
|---|---|---|
3DEXPERIENCE Agent id |
3DEXPERIENCE agent id for Extension. |
- |
3DEXPERIENCE Agent secret |
3DEXPERIENCE agent secret for Extension. |
- |
Security Context |
Set the security context which need to be used else default be used. |
VPLMProjectLeader.Company Name.Common Space |
| Regex won’t work with security context. Actual value is to be used. |
In this tab, User need to configure base URL for ERP system and connection read/write timeout under ERP section.
| Setting | Description | Example |
|---|---|---|
ERP Base URL |
Base URL to ERP system. |
|
Read/Write timeout in milliseconds |
Connection Read/Write timeout in milliseconds |
120000 |
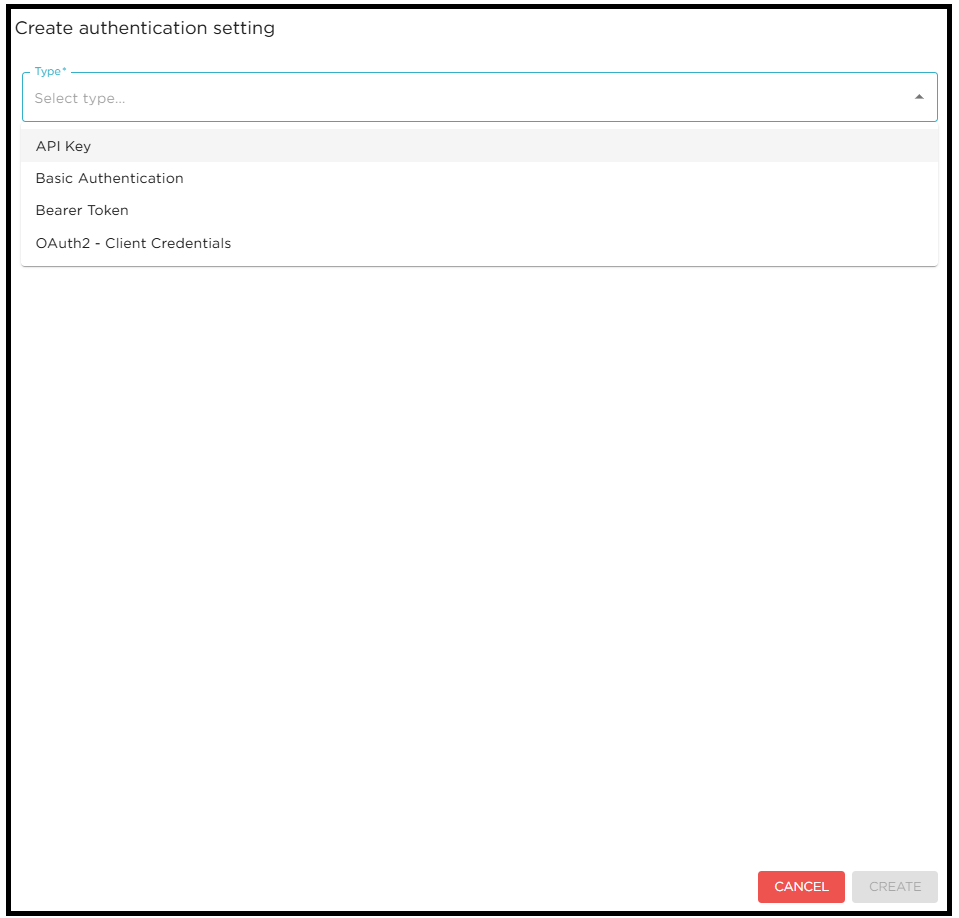
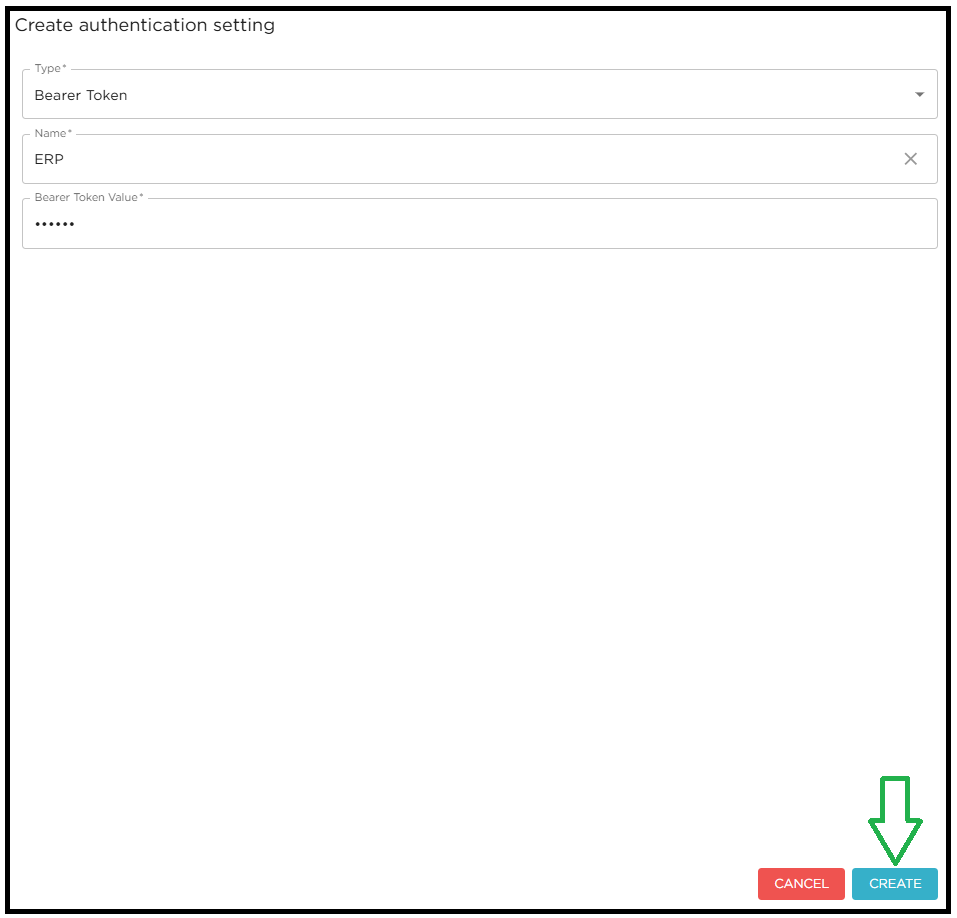
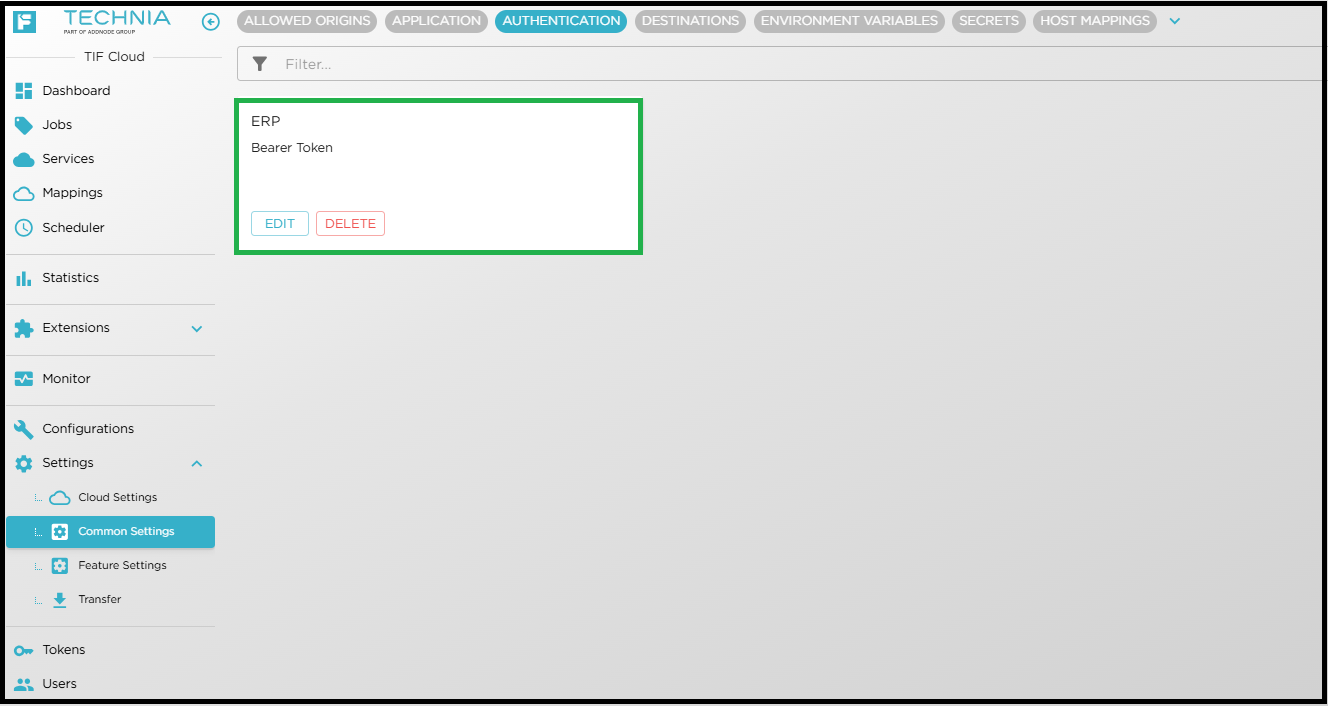
Authentication
Create an authentication object to get authenticated by the destination ERP system.
-
Go to Settings
-
Select Common Settings
-
Go to AUTHENTICATION tab
-
Click on CREATE
-
Select authentication type and enter the required details
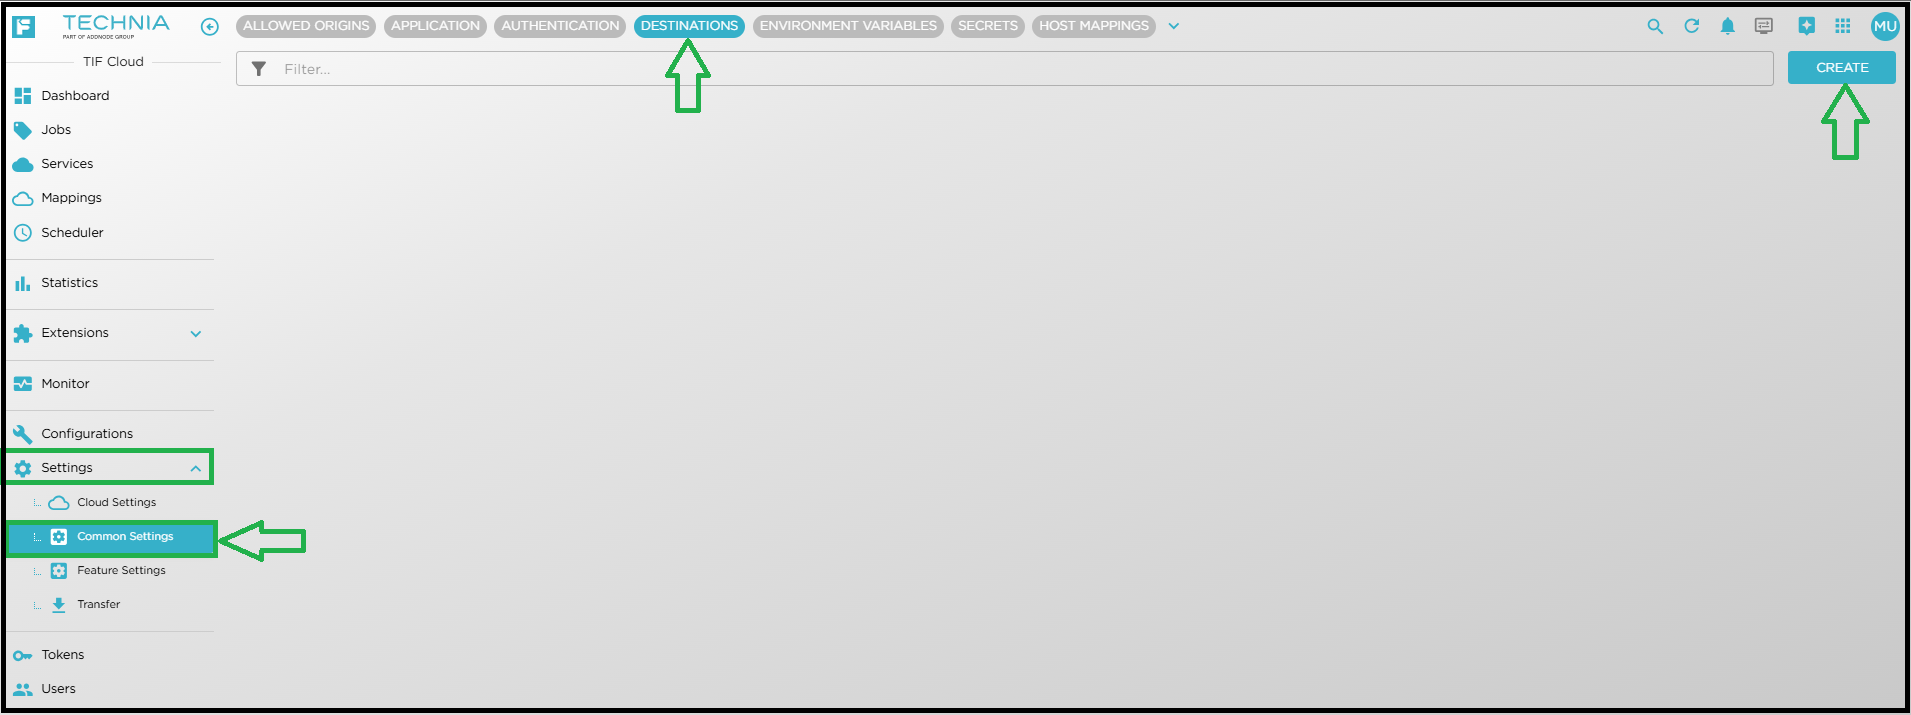
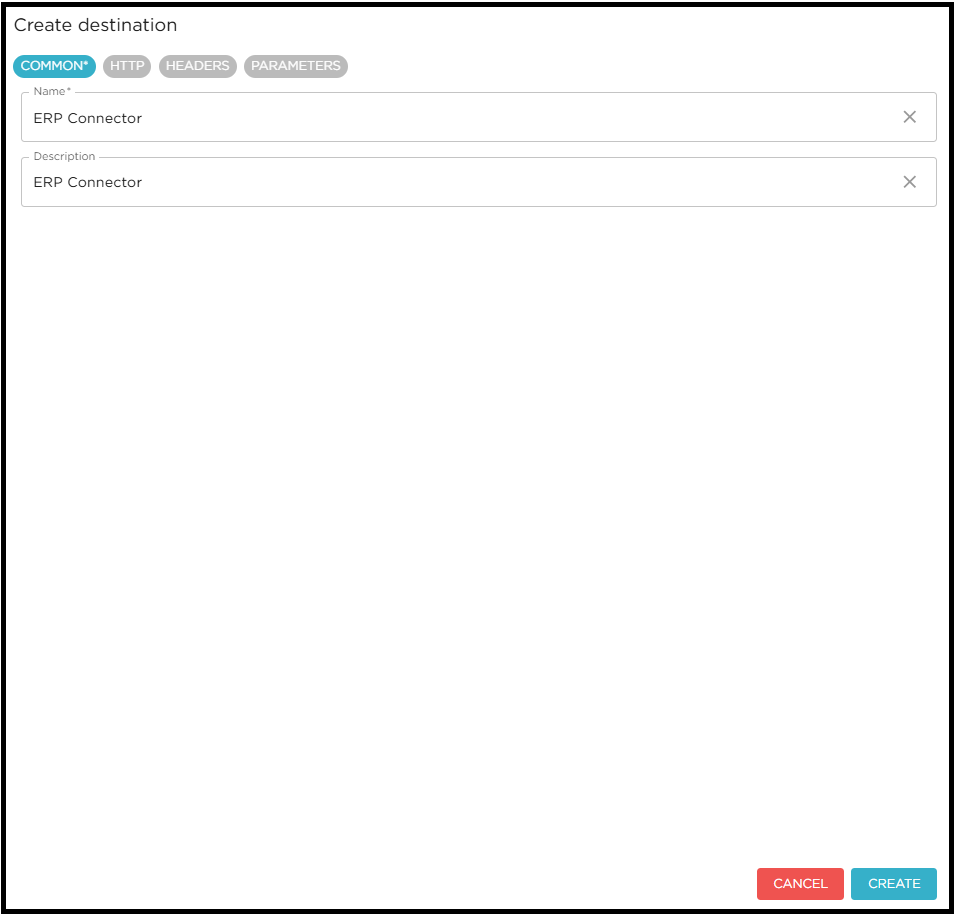
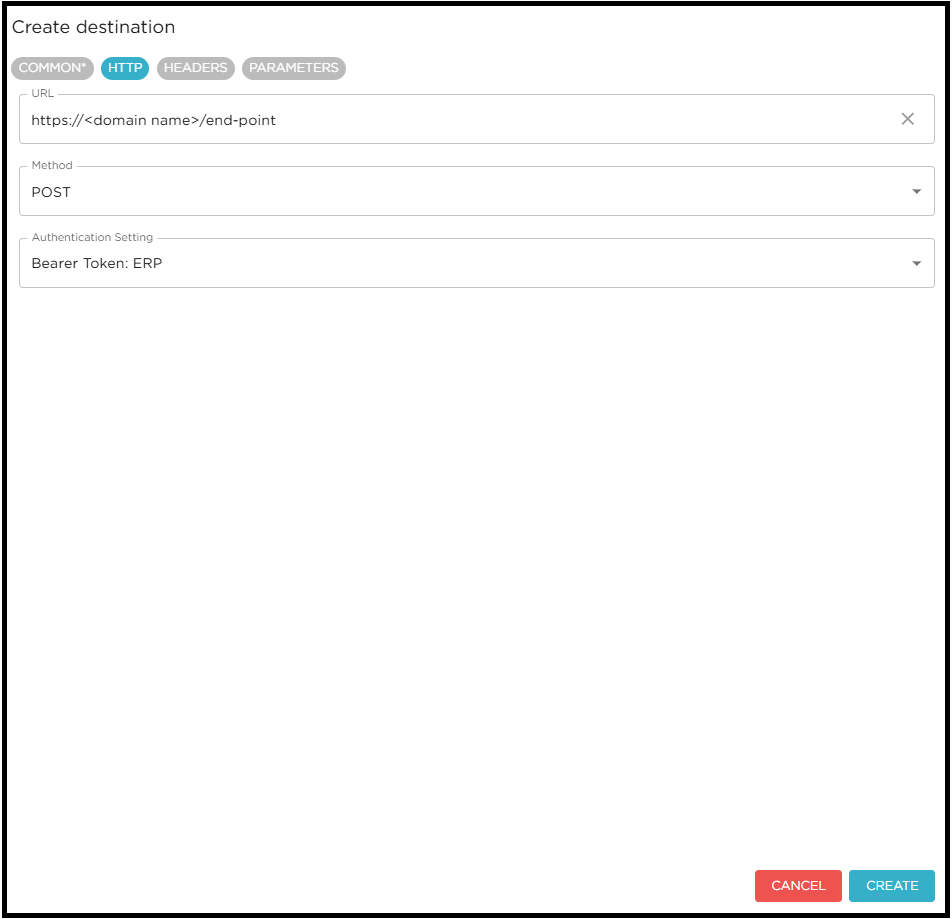
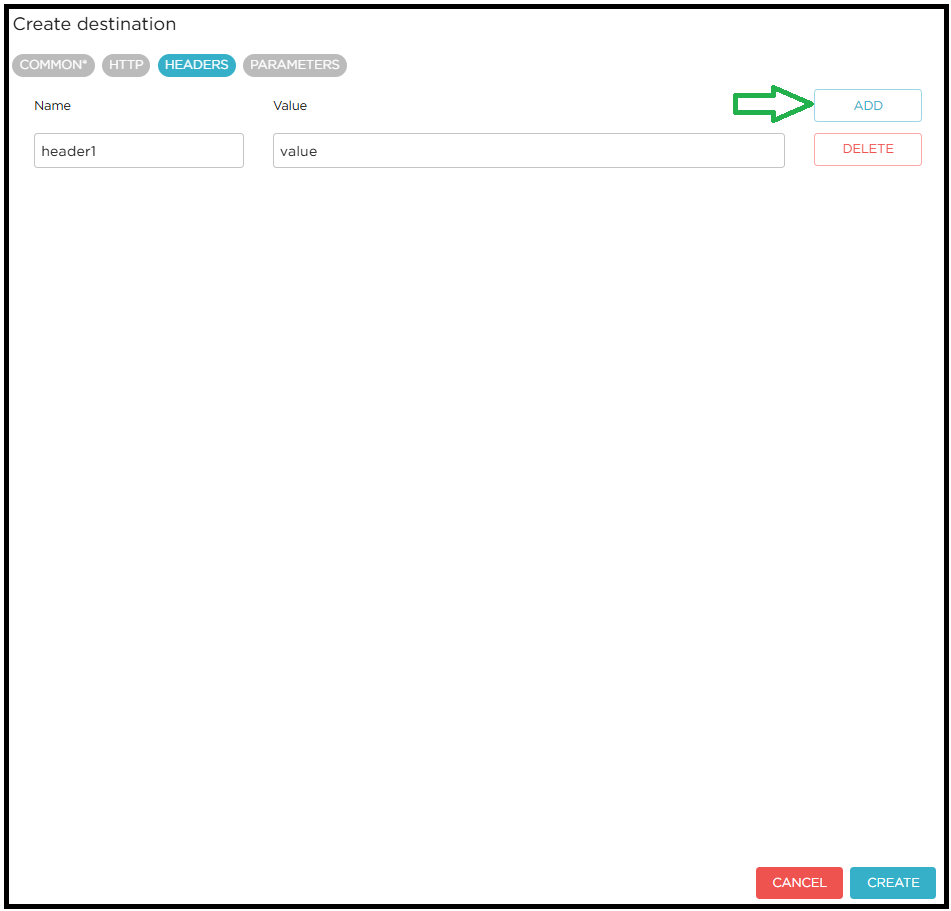
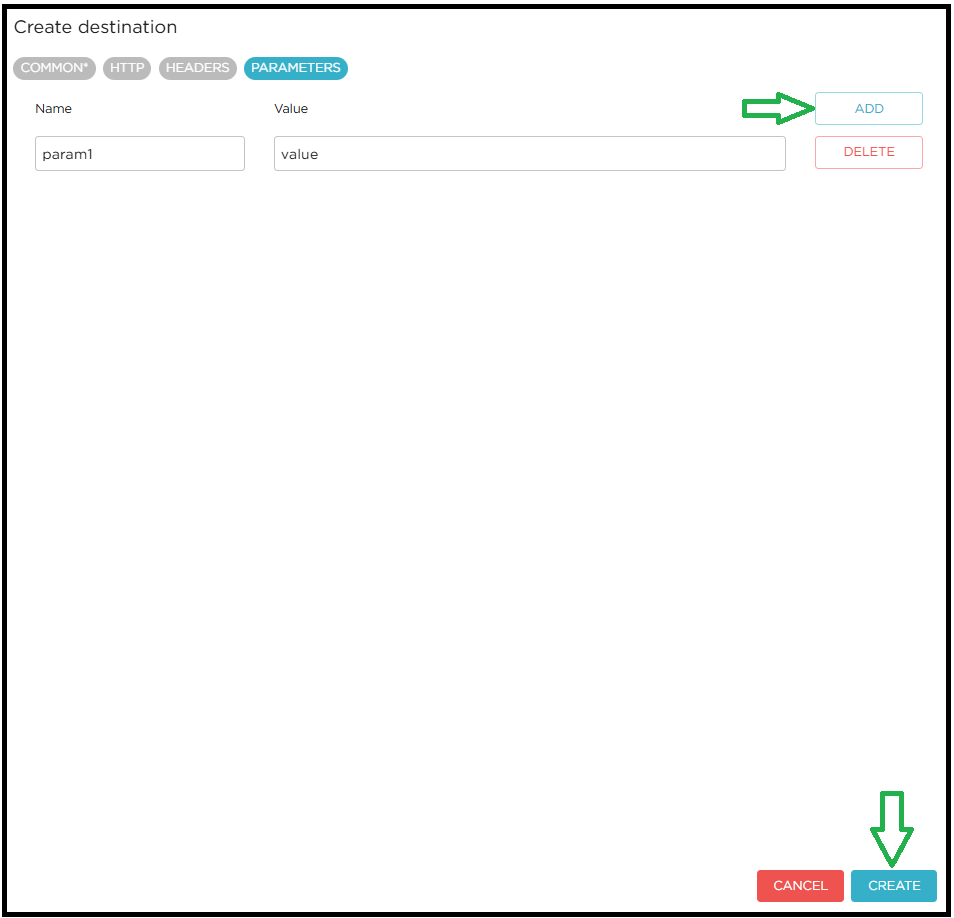
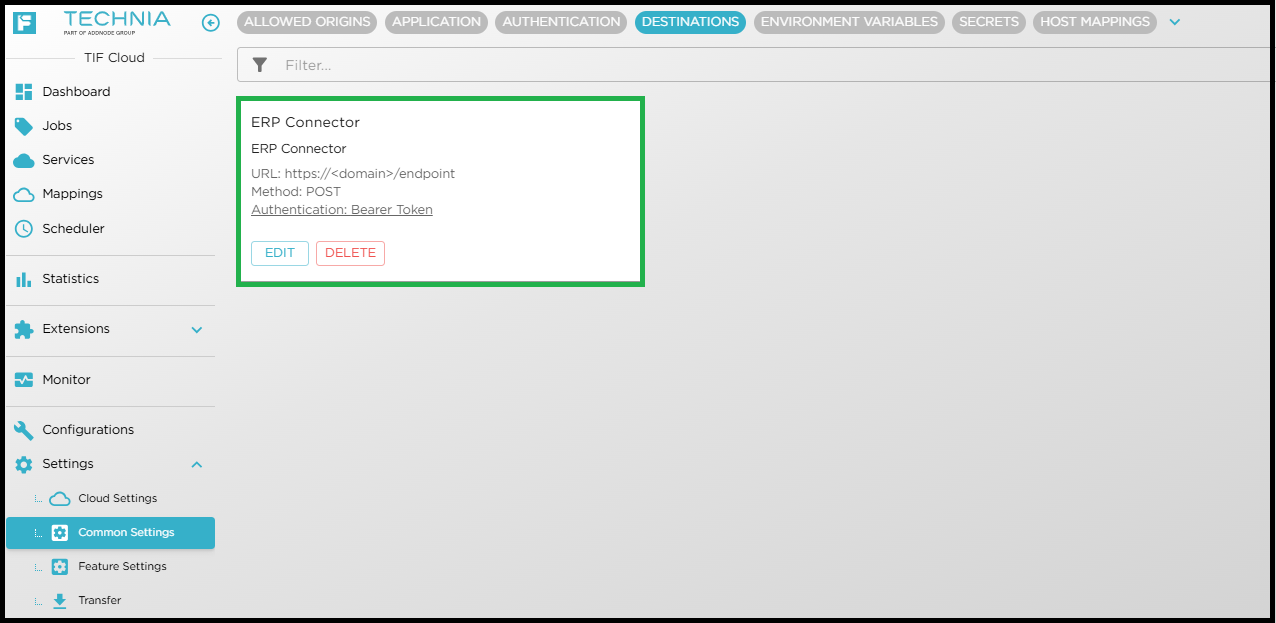
Destination
Create the destination object using the previously created authentication object to connect with the destination ERP system.
-
Go to Settings
-
Select Common Settings
-
Go to DESTINATION tab
-
Click on CREATE
-
Fill the required details on each tab as per requirement
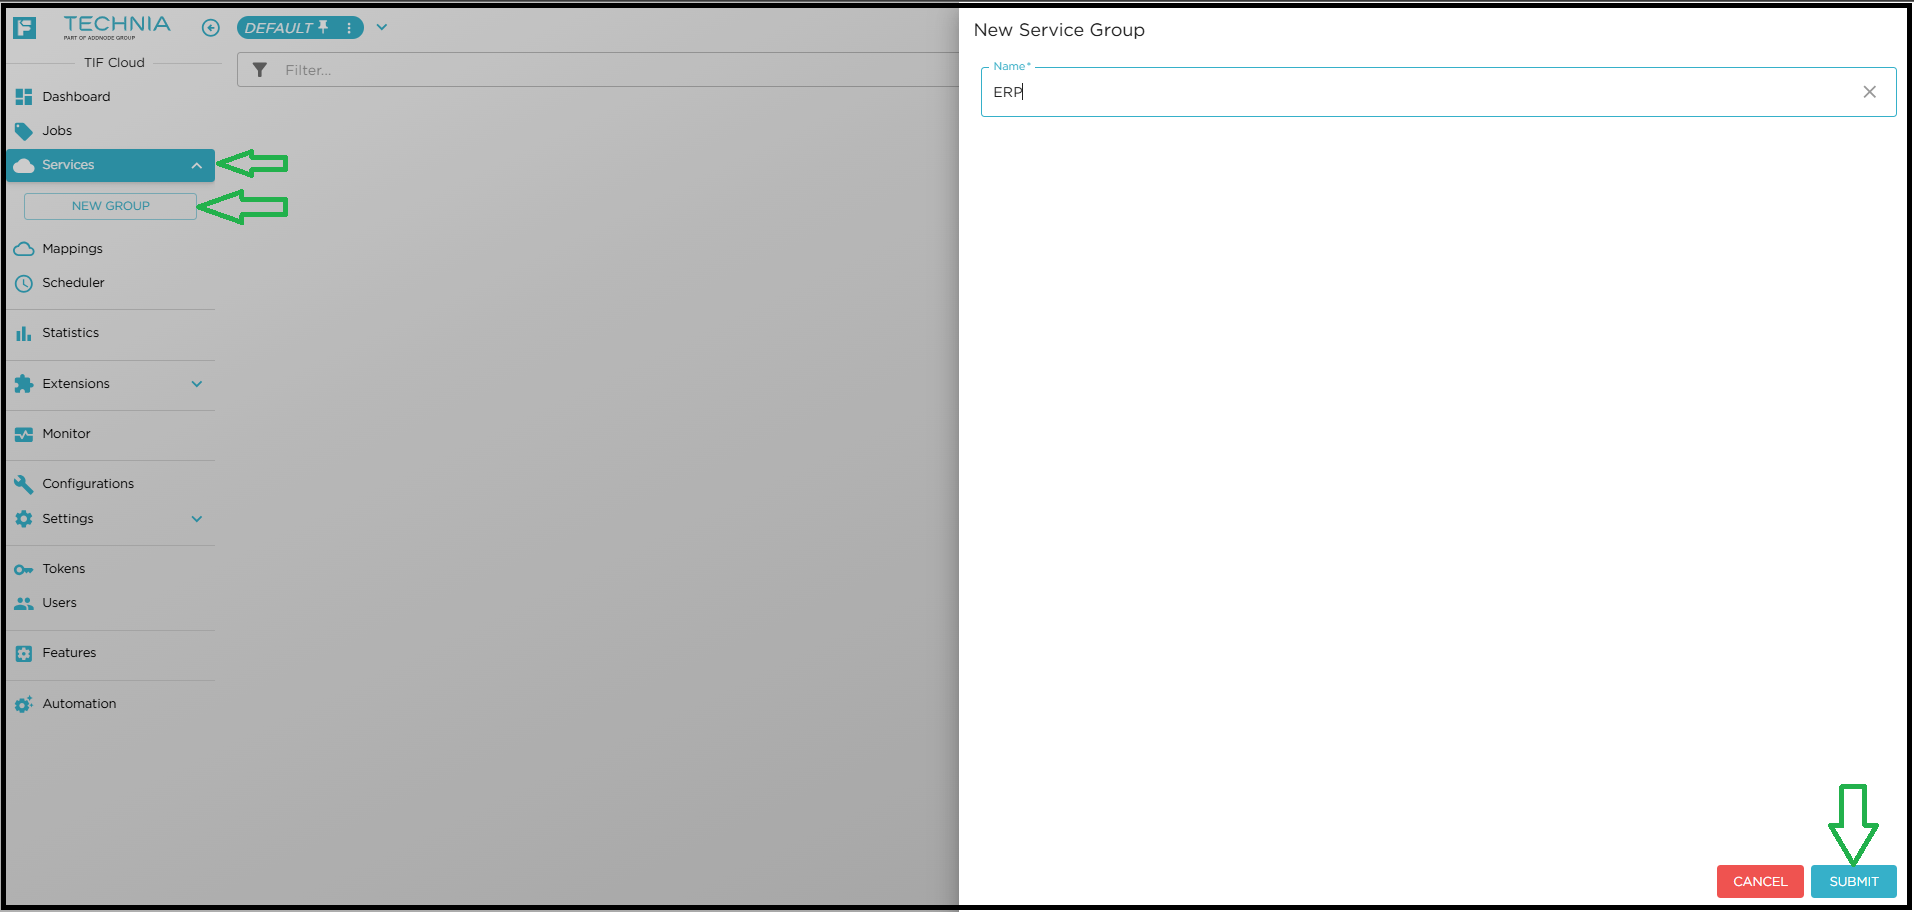
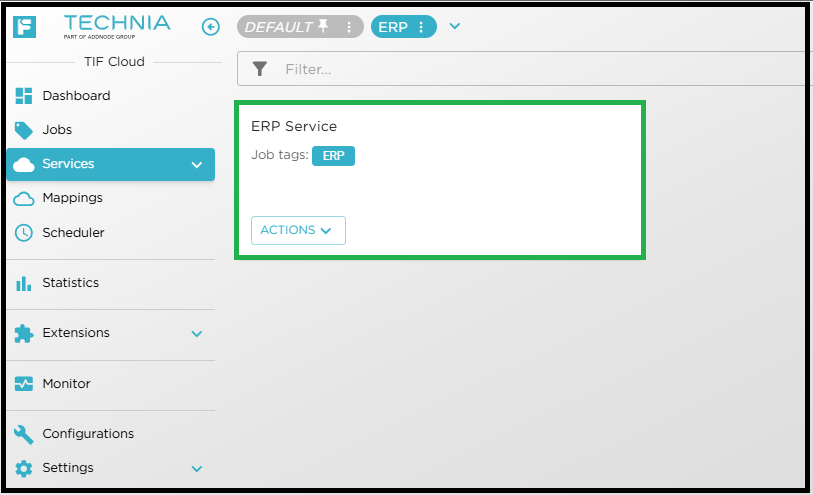
Service
Service corresponds to a job queue. Every event mapping needs to specify to which service it belongs. A service can be configured to run its jobs in sequence OR parallel execution. Either create a single service to handle all the events or create separate services for each event mapping.
Create new Service Group and Service as shown below.
-
Go to Services
-
Click on down arrow and click NEW GROUP
-
Enter the name and submit
-
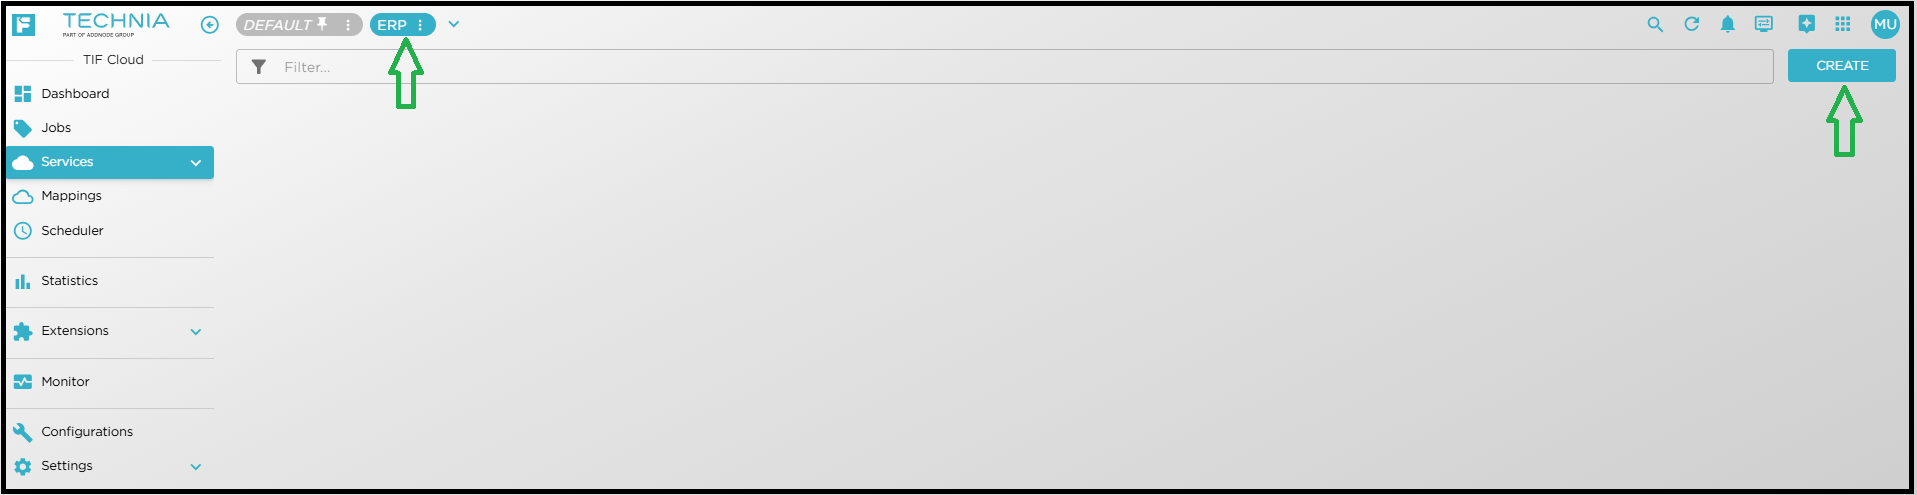
New Service group is created
-
Click on CREATE to create new service
-
Enter the required details and click CREATE
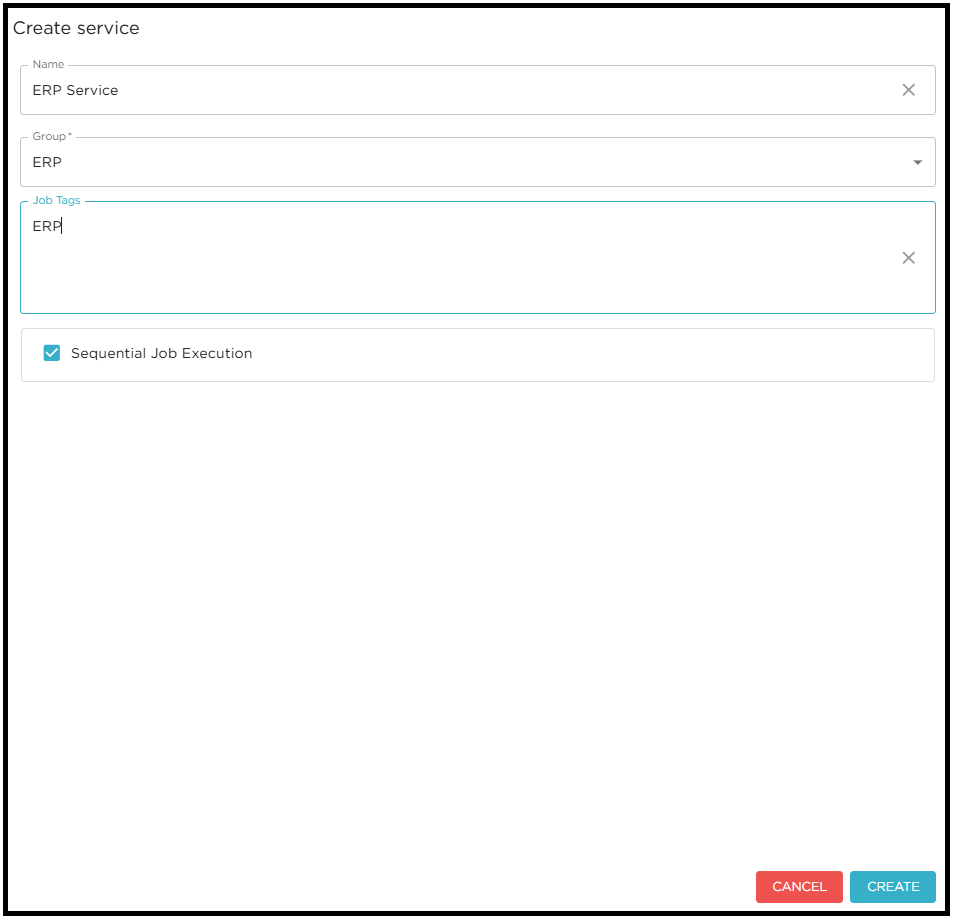
| For more details about SERVICES please check Service |
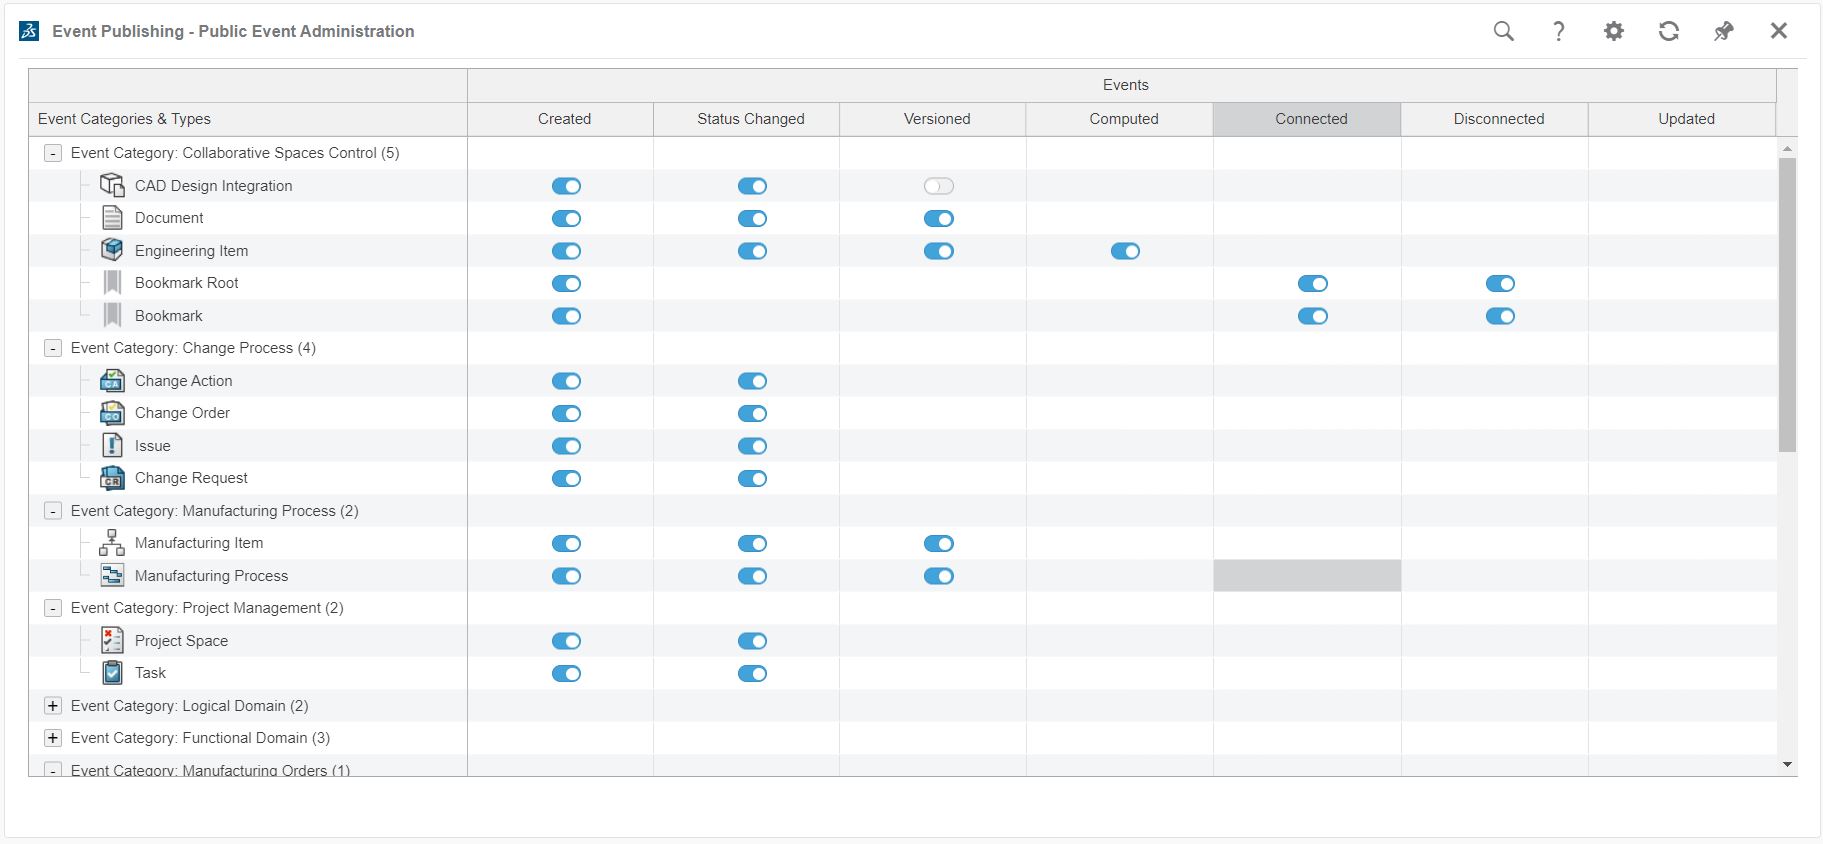
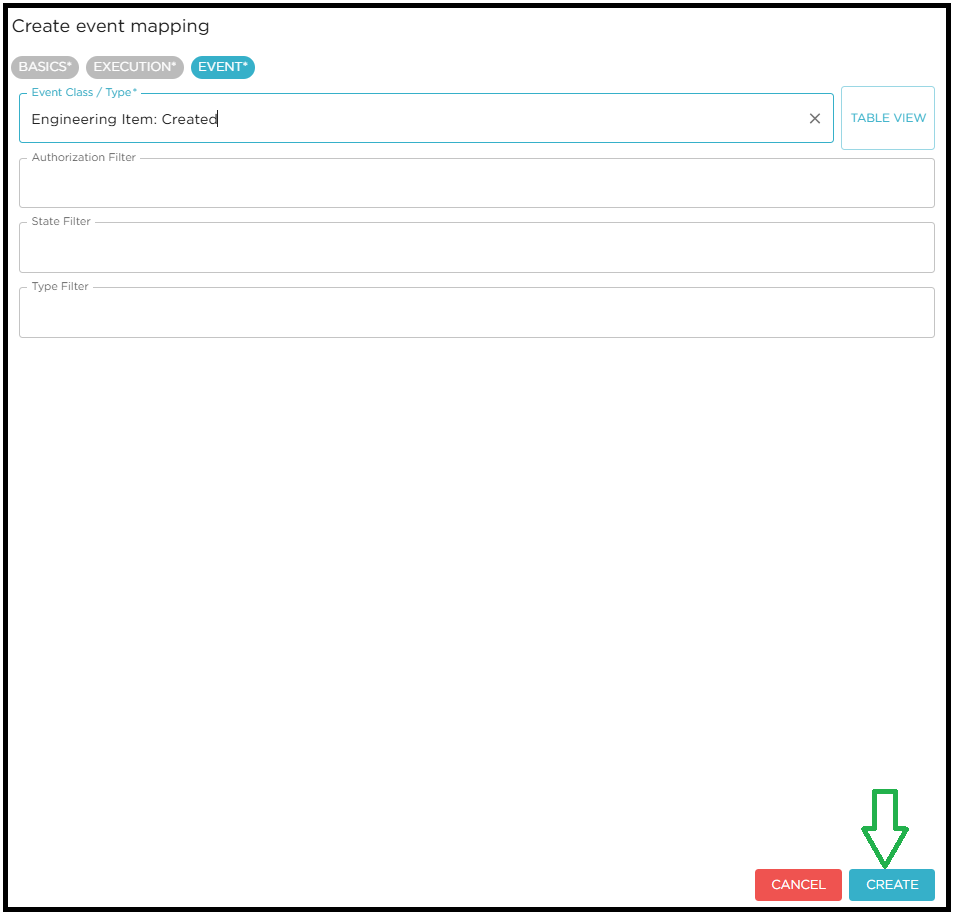
Event Mapping
Event mapping holds the information about which use-case needs to be executed when the event is received. It is a binding between the event and job-request. Need to enable what events needs to be published from the DS tenant using Event Publishing app.
Example of configured events publishing are as follows.
Engineering item → Created, Status Changed, Versioned, etc…
Create new EVENT MAPPING as shown below.
-
Go to MAPPINGS
-
Select EVENT MAPPINGS tab and click on CREATE
-
Enter the required details on BASICS, EXECUTION, EVENT tab and click on create.

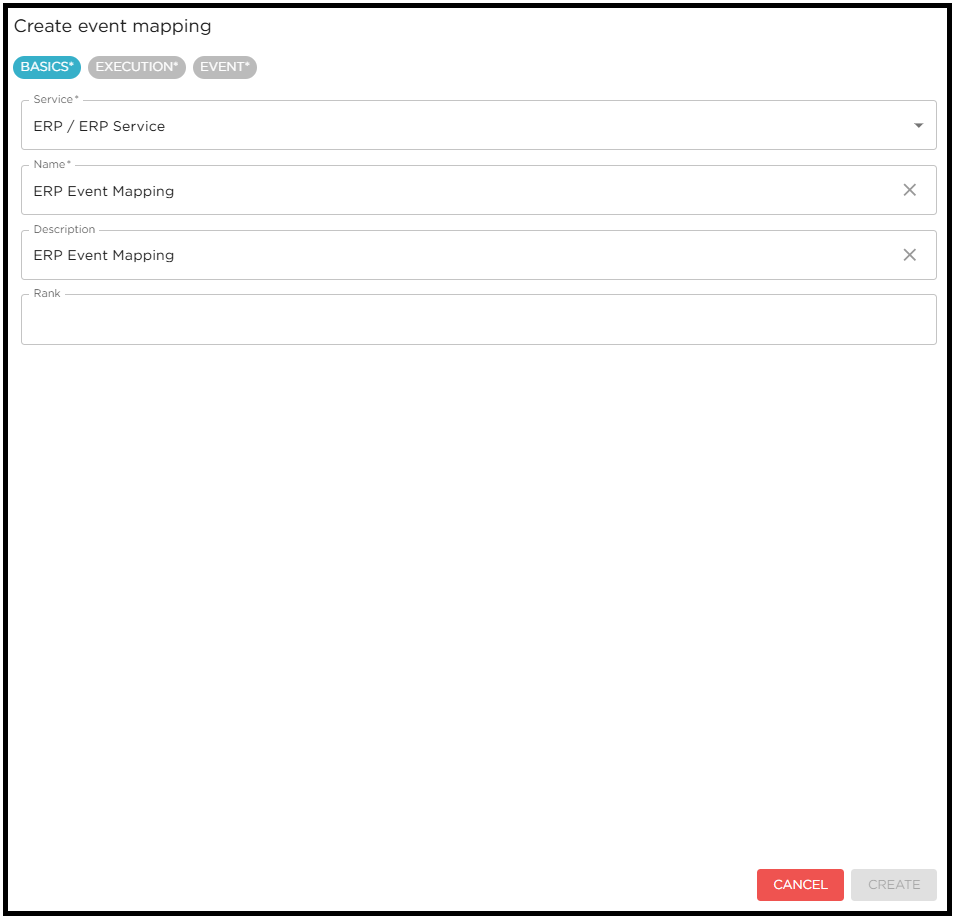
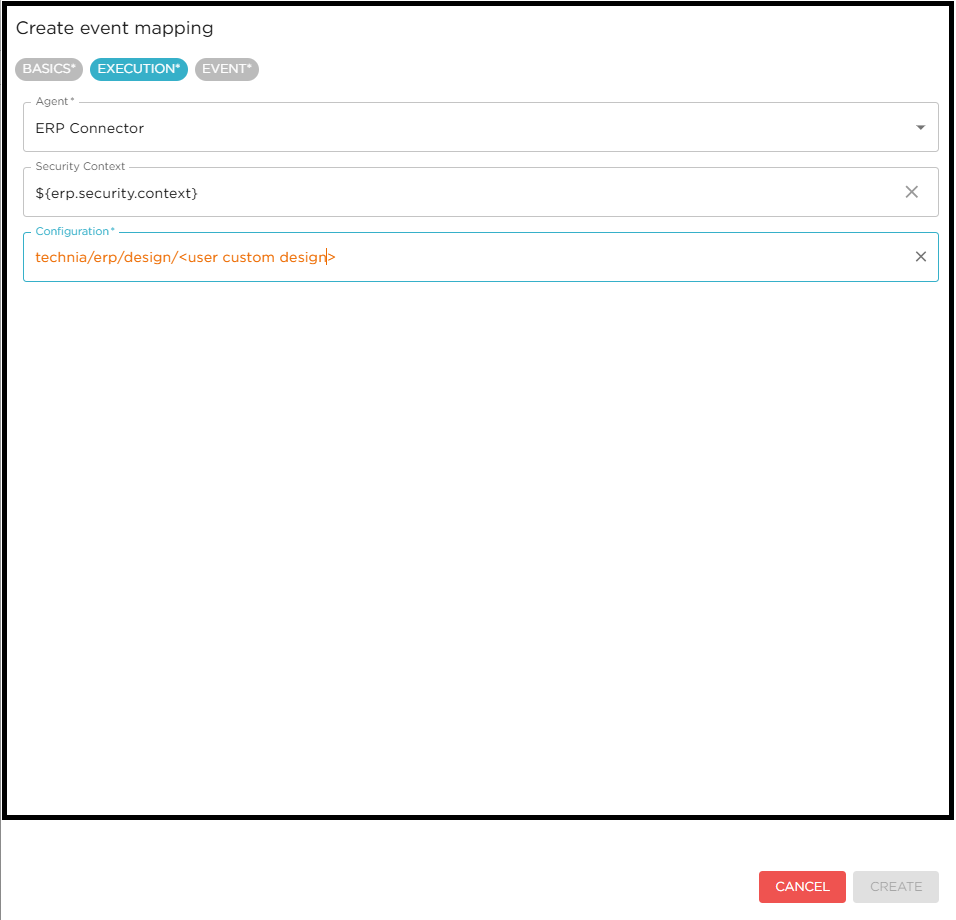
| For more details please check DS Event Mappings |
| Service and event mapping need to be configured first if you want to trigger a job on any particular event published by the 3DEXPERIENCE. |