Configuration
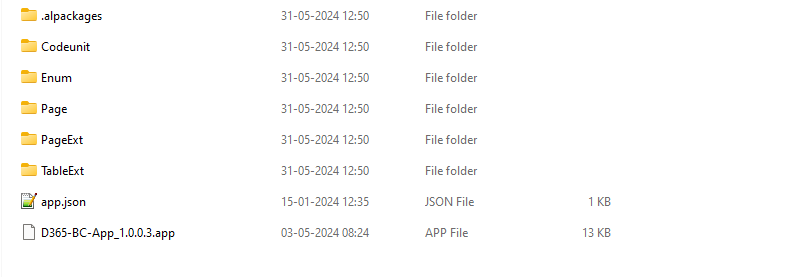
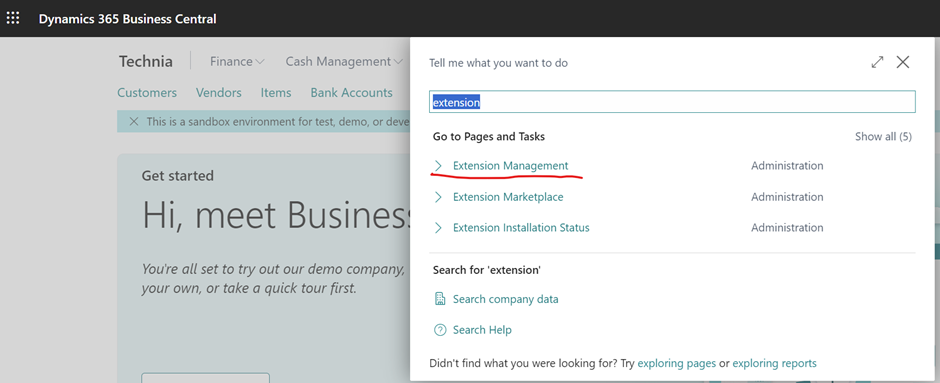
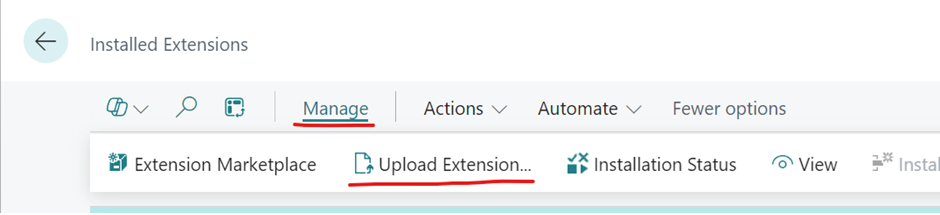
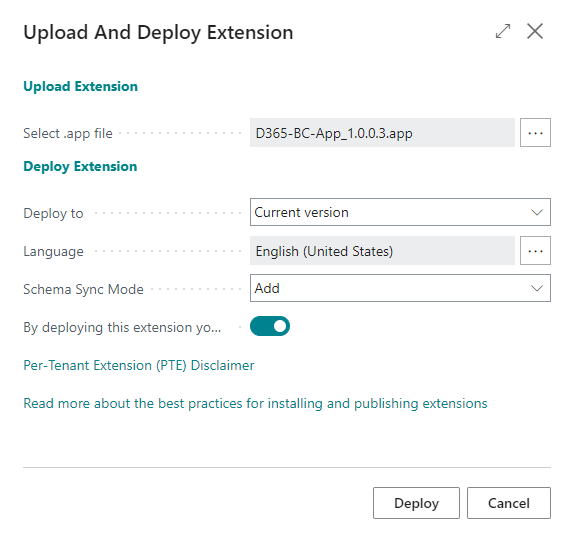
App Installation
Standard BC Table Changes
Extended table “Document Attachment” with field 50100 – Version Code – Code[20]. This change is done to be able to store documents on Production BOMs and Productions BOM Versions.
Standard BC Page Changes
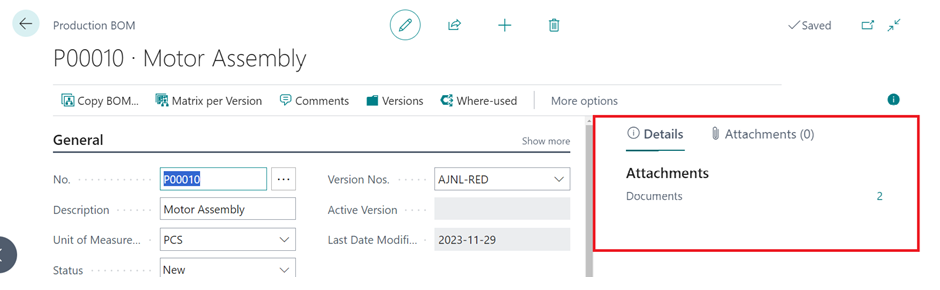
Extended pages Production BOM and Production BOM Version. Both of these pages have been added a factbox for displaying stored documents and for integration to interact with via ODATA.
Standard BC Enum Change
To be able to separate Production BOMs from Production BOM Versions new values for the standard enum "Attachment Document Type" have been added. These new values are ID 50100 – Prod Header and 50101 – Prod Version.
New Pages
API Pages
Page ID 50100,50101 and 50103 is used for integration with Production BOMs and Document Attachment via BC API.
Page ID 50104 is a new integration page for adding new documents to Production BOMs and Versions.
50105 is new pages for showing Document Attachments on Production BOM and Version.